
Creating a VM on AHV, installing a guest OS on it and then enabling Nutanix Guest Tools is one of those end-to-end tasks that comes up on nearly every engagement. It’s straightforward once you’ve done it a few times, but there are a couple of places where the order of operations matters — particularly attaching the installation media before first boot, and getting NGT onto the guest afterwards. This post walks through the whole sequence on a Linux VM, with screenshots from the actual project (customer identifiers, host names and IP addresses have been redacted throughout).
Step 1 — Create the VM
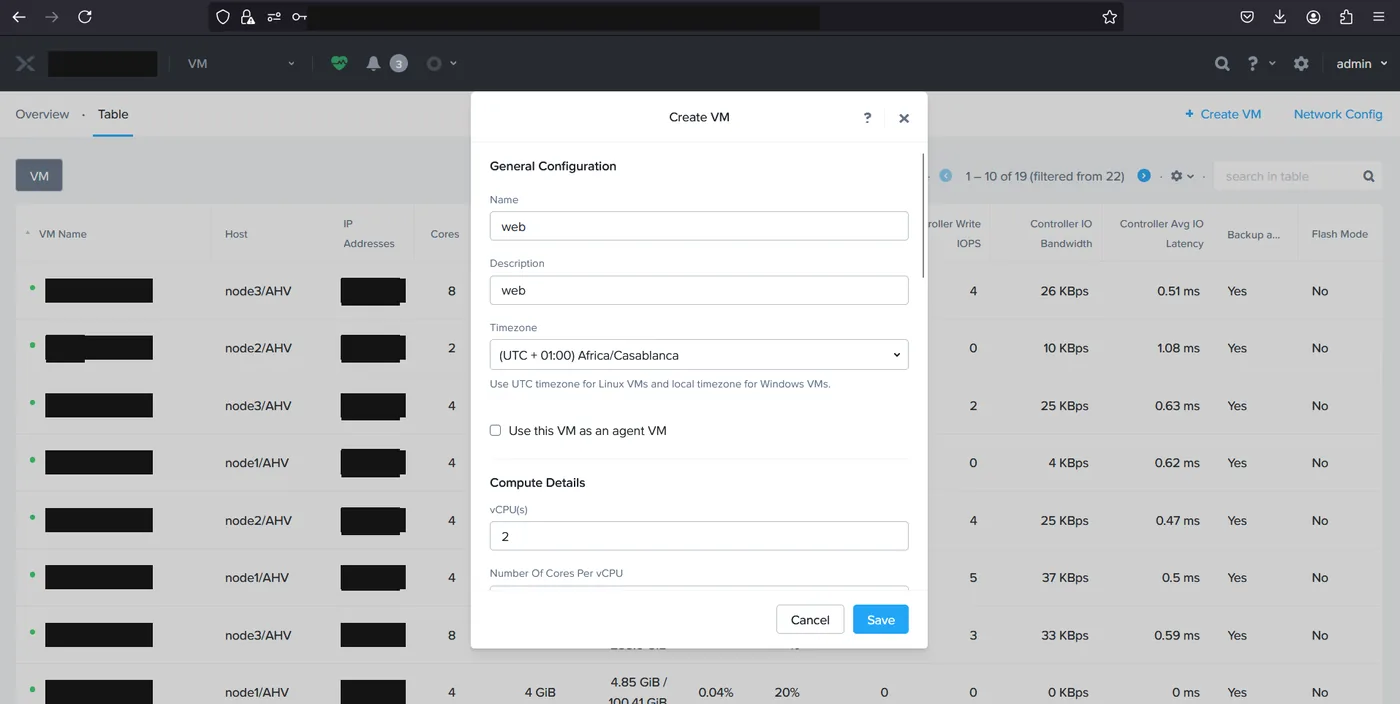
Everything starts from Prism Element’s VM view, where “+ Create VM” opens the configuration form. The General Configuration section covers the basics: a name and description, and a timezone. It’s worth pausing on the timezone note Prism shows here — use UTC for Linux VMs and local time for Windows VMs. Below that, Compute Details sets the vCPU count and cores per vCPU; this VM was built as a small web server, so two vCPUs was plenty.
Step 2 — Attach the installation media
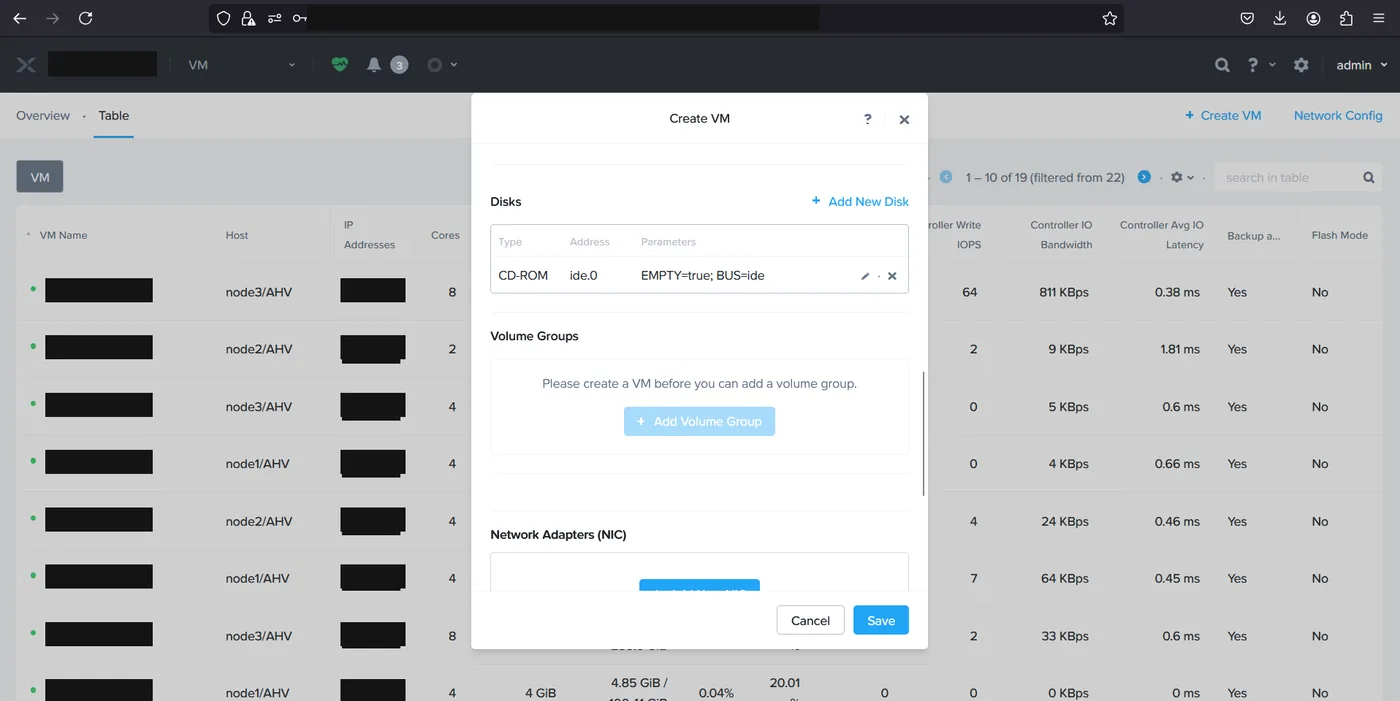
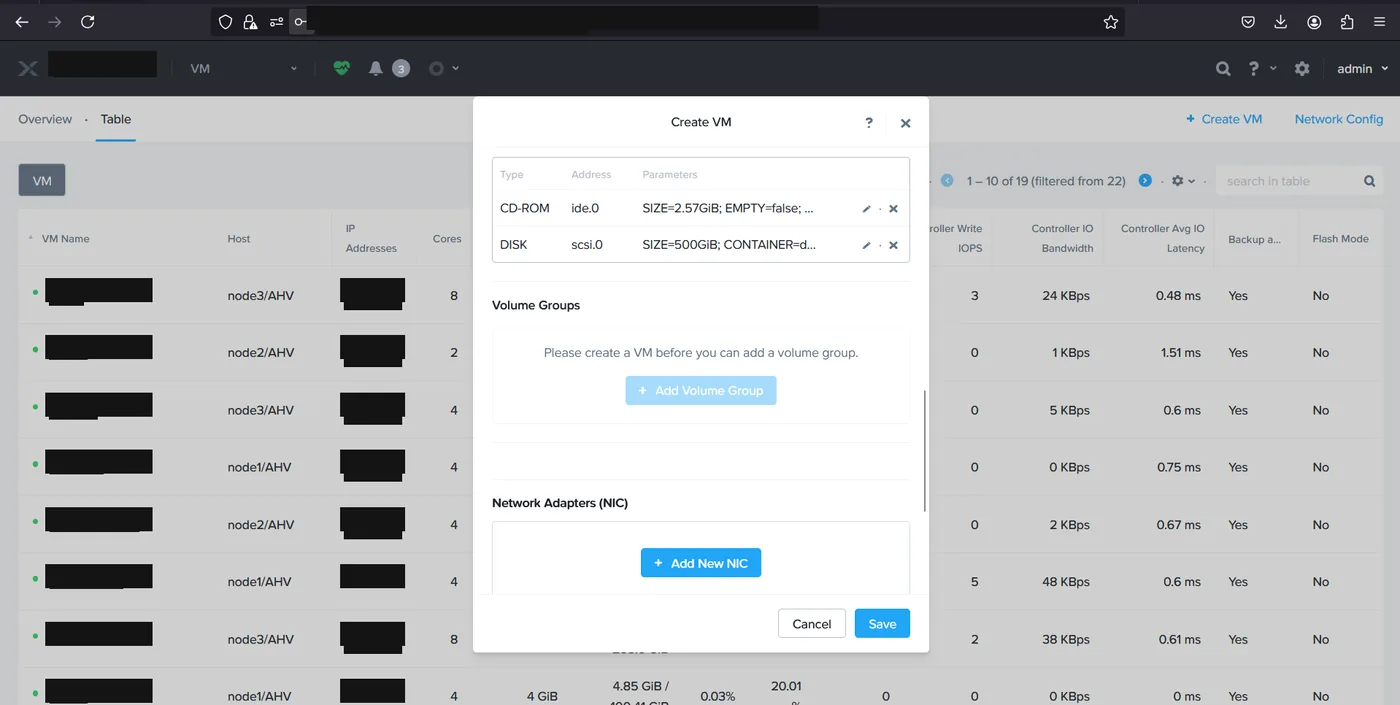
Scrolling further down the same form reaches the Disks section. A new VM comes with an empty IDE CD-ROM already attached, which is exactly what the OS installer needs to boot from.
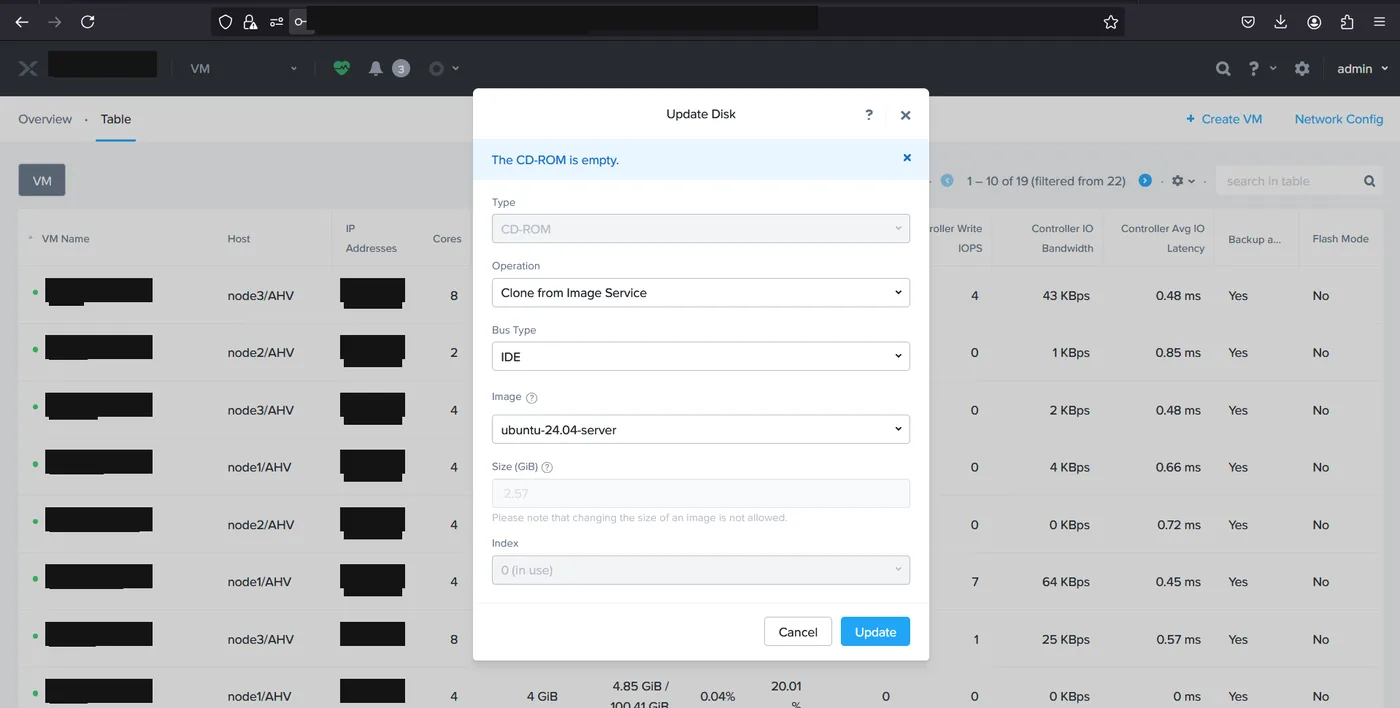
Editing that CD-ROM opens the Update Disk dialog. Setting the operation to “Clone from Image Service” and picking the Ubuntu Server image from the dropdown mounts the ISO to the VM. This assumes the ISO has already been uploaded to the cluster’s Image Service — if it hasn’t, that’s a prerequisite to sort out before creating the VM.
Step 3 — Add the data disk
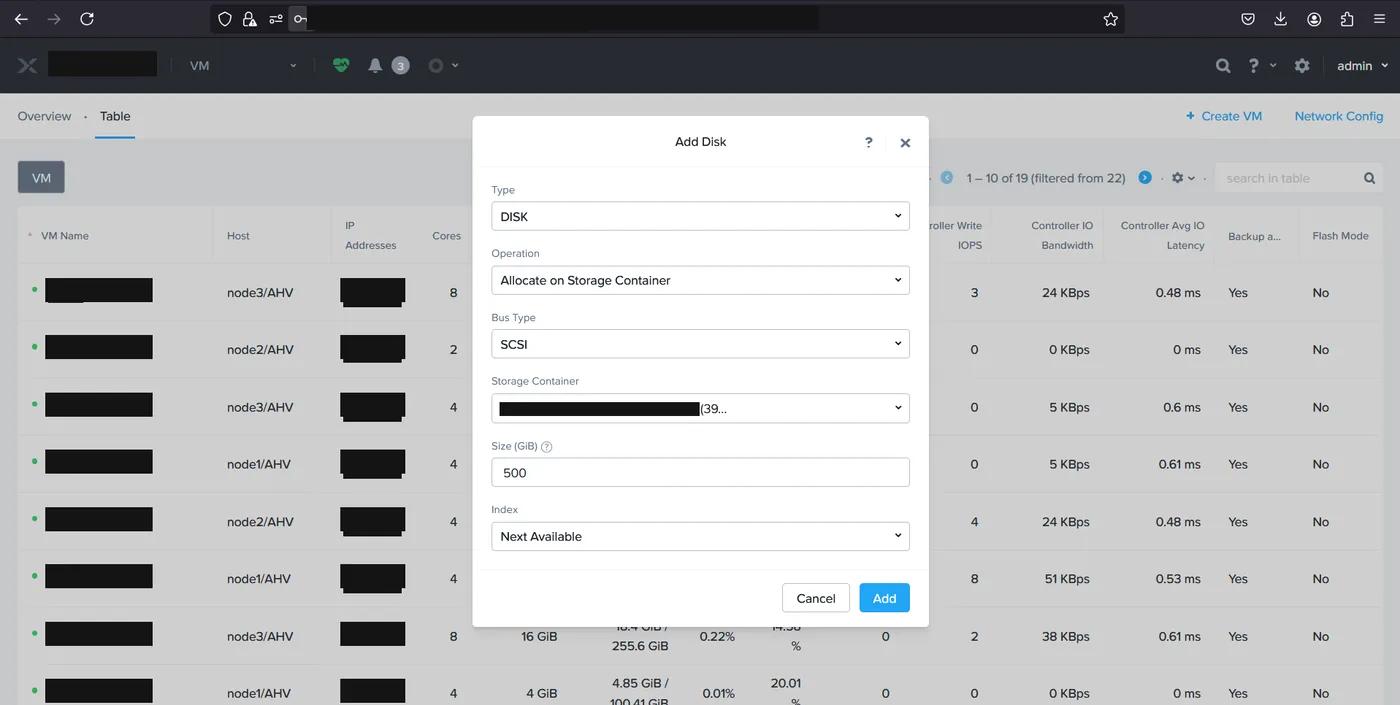
Next, “Add New Disk” creates the actual virtual disk the OS will install onto. The type is DISK, the operation is “Allocate on Storage Container”, and the bus type is SCSI — which is the right choice for a Linux guest on AHV, since the VirtIO SCSI driver is built into modern kernels. After choosing the storage container and setting the size (500 GiB here), the index can be left on “Next Available”.
With both in place, the Disks list shows the two entries side by side: the CD-ROM now holding the installer ISO, and the empty 500 GiB SCSI disk.
Step 4 — Add a network adapter
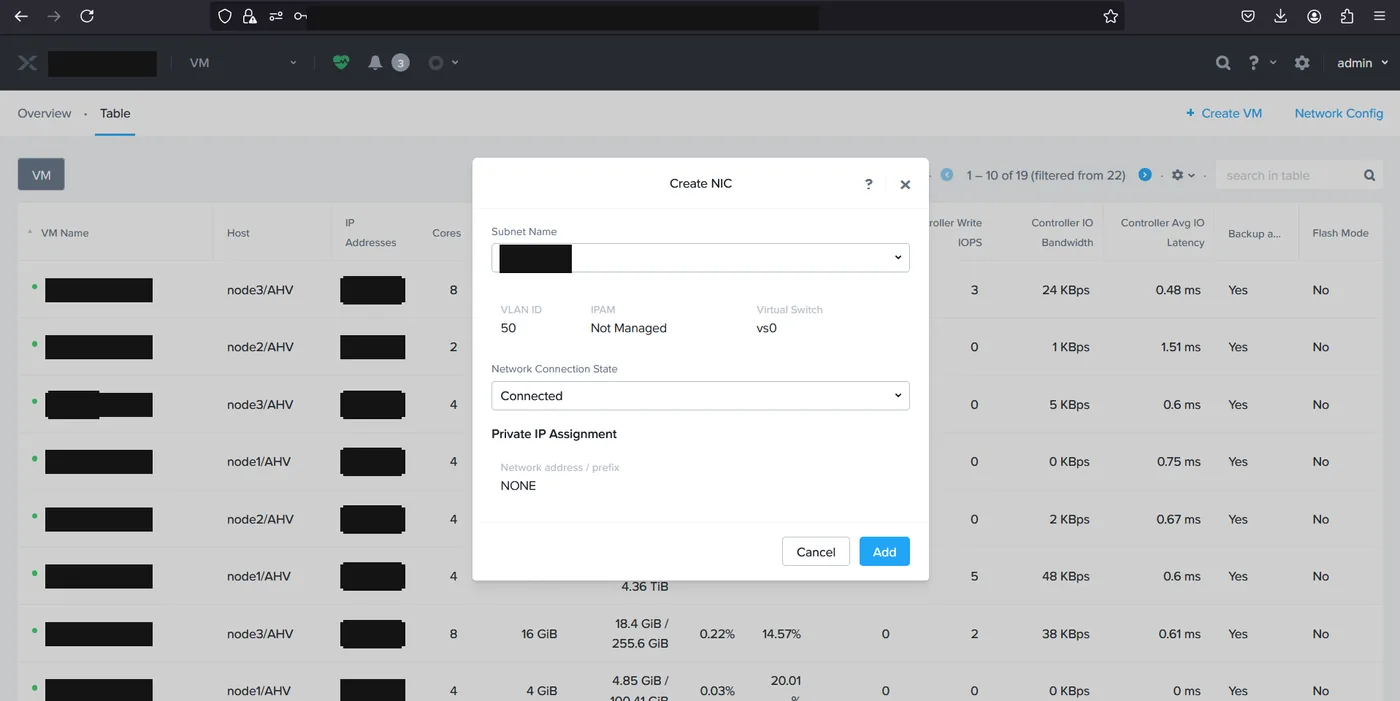
The last piece of the VM definition is the NIC. “Add New NIC” asks for a subnet, and once one is picked Prism displays its VLAN ID, IPAM mode and the virtual switch backing it. With the network left unmanaged, no address is handed out by Prism and the guest is responsible for its own IP configuration — which is why Private IP Assignment shows NONE here.
Step 5 — Install the OS from the console
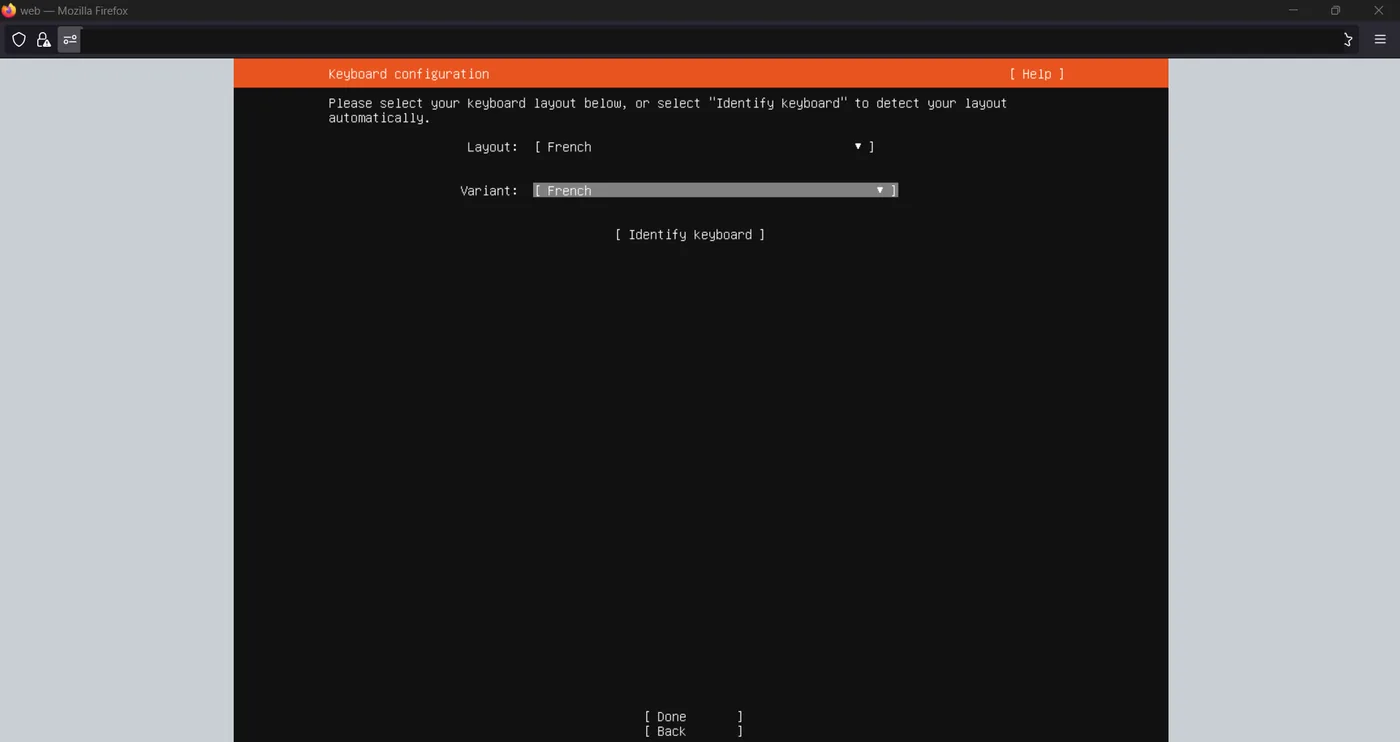
Saving the VM and powering it on, then launching the console, boots straight into the Ubuntu Server installer. The first prompt is the keyboard layout — worth setting correctly rather than accepting the default, because it’s the layout you’ll be typing the root password with a few screens later.
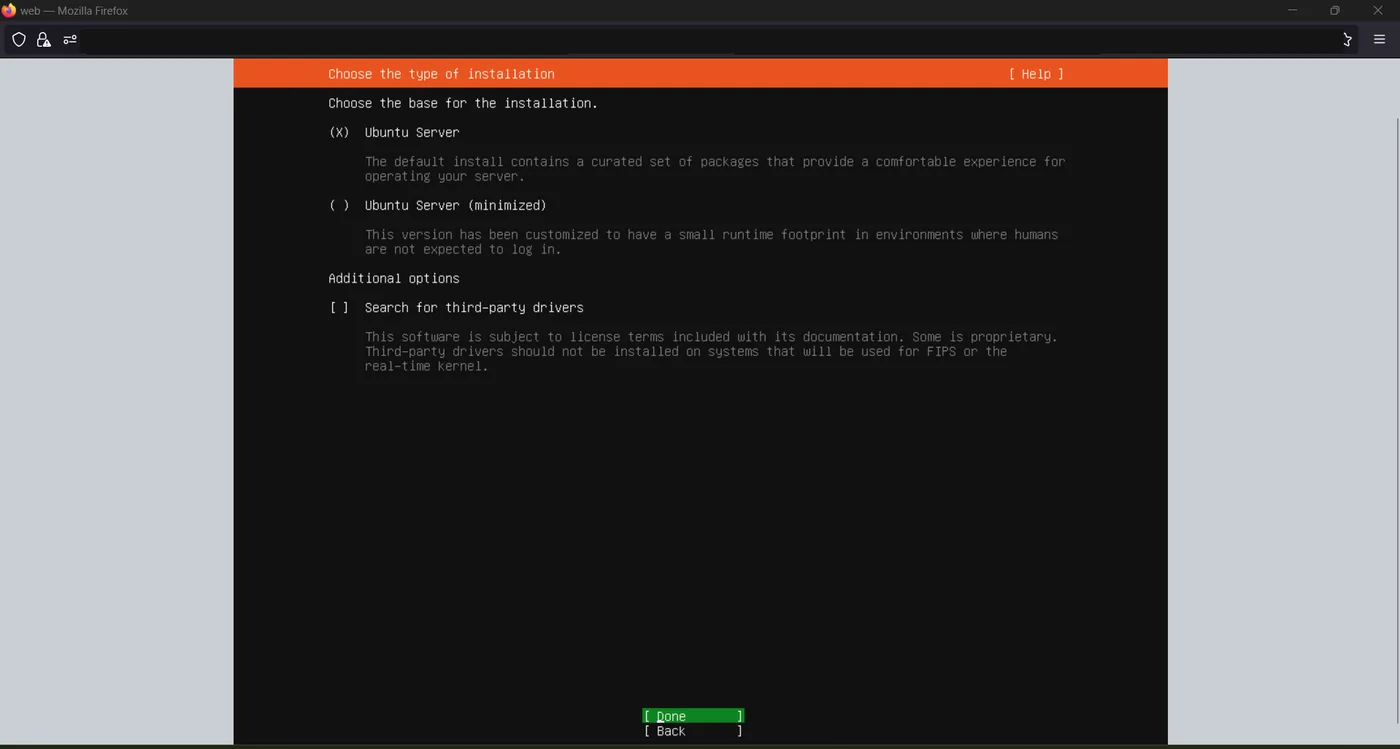
The installer then offers a choice between the full Ubuntu Server install and the minimized variant. The minimized build strips out tooling that isn’t needed on machines people don’t log into interactively; for a general-purpose server the full install is the more comfortable option. There’s also a checkbox here for searching third-party drivers, which isn’t needed on AHV since the VirtIO drivers are already in the kernel.
Network configuration comes next. The VirtIO NIC shows up as ens3, correctly identified as a Red Hat Virtio network device. On an unmanaged subnet with no DHCP there’s nothing for the installer to pick up automatically, so this environment continued without network and had addressing configured after the install.
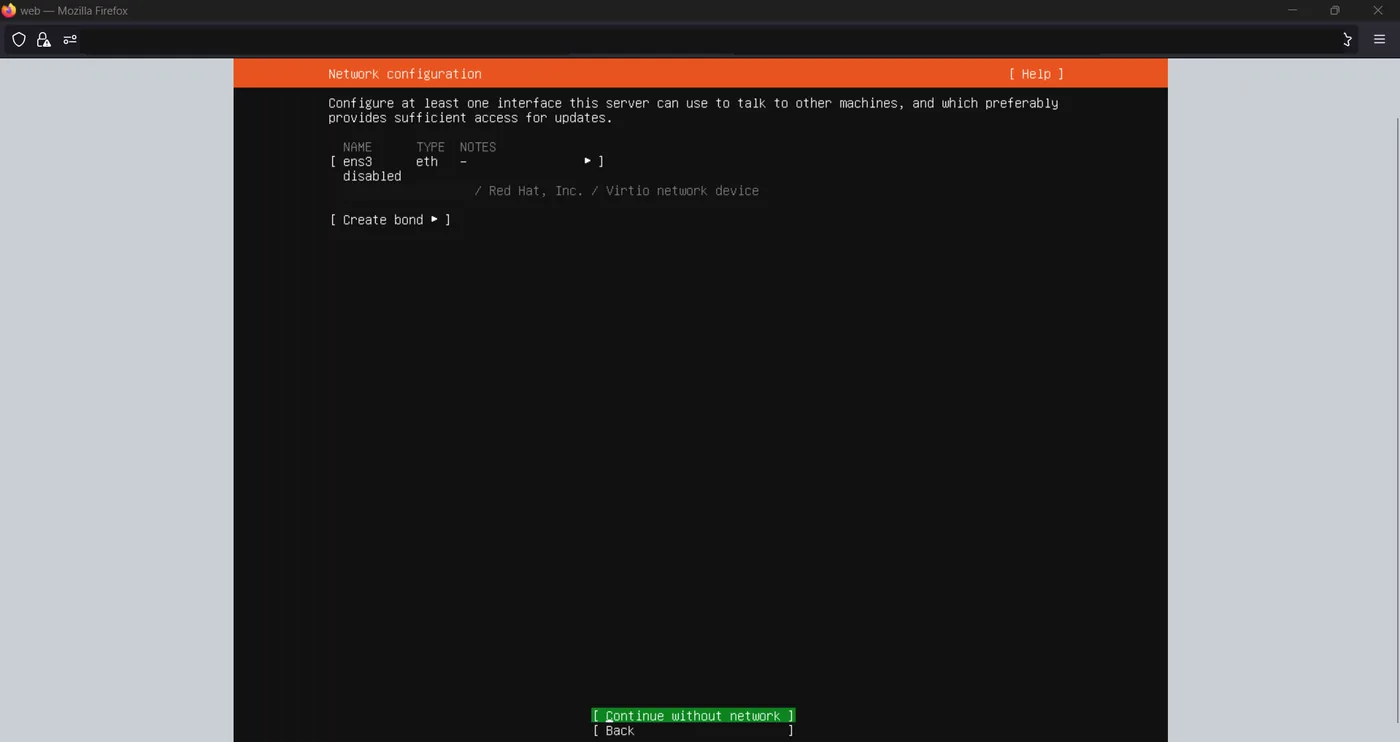
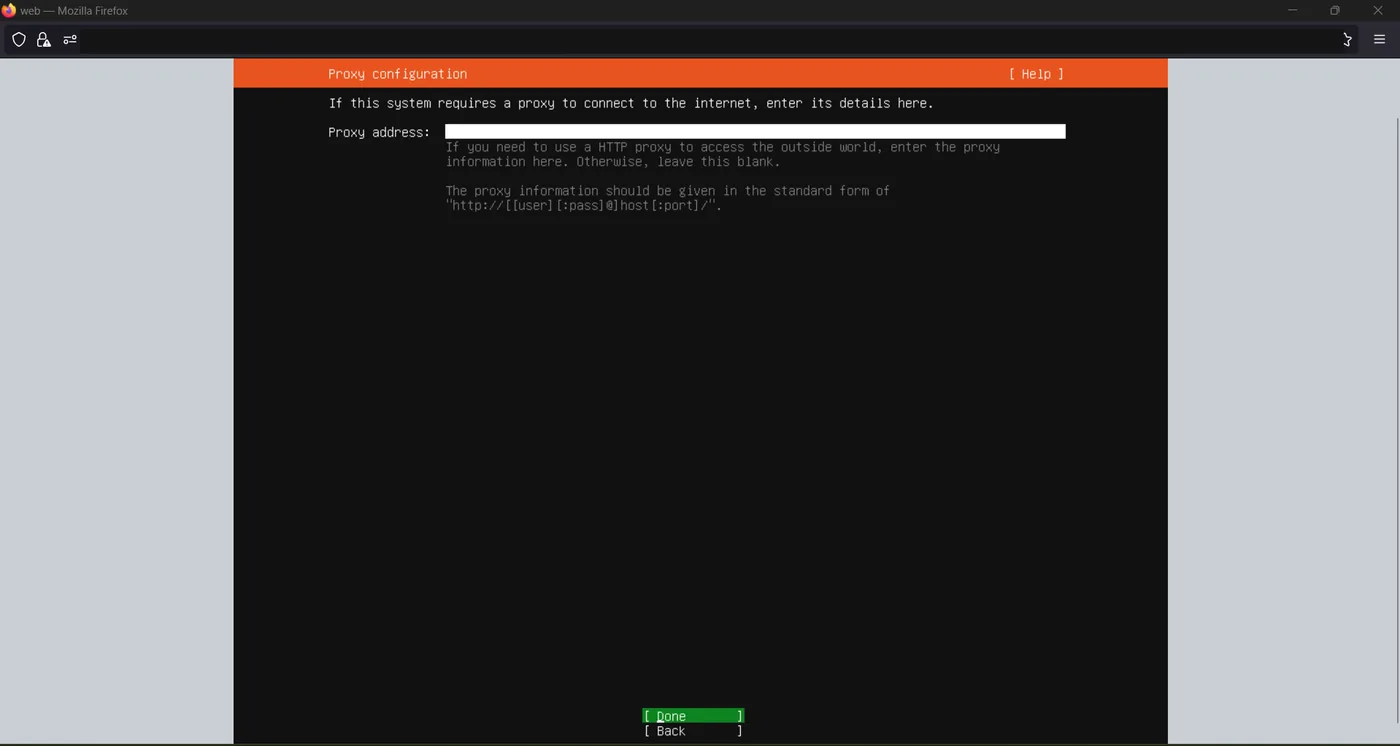
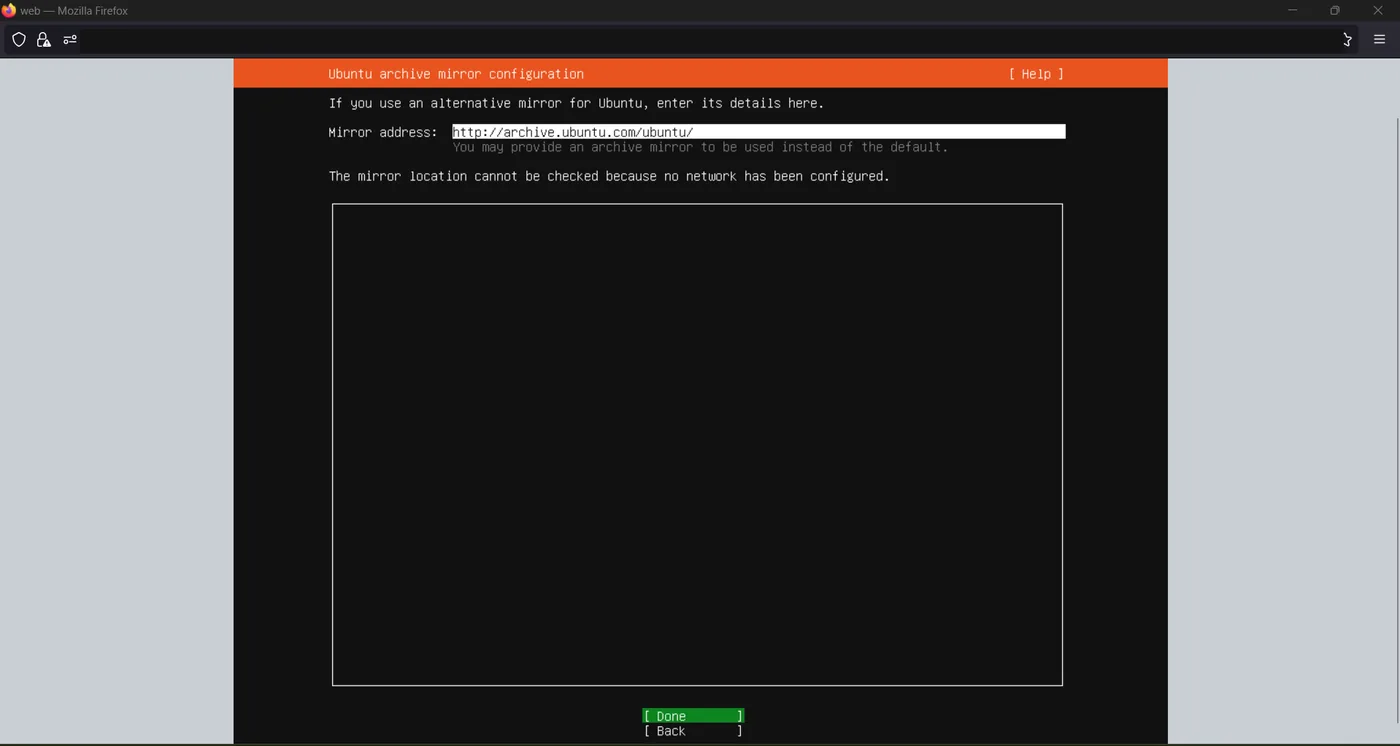
Because there’s no network yet, the next two screens — proxy configuration and the Ubuntu archive mirror — are both left at their defaults. The installer even notes that it can’t validate the mirror, since it has no connectivity to test it with.
Storage layout
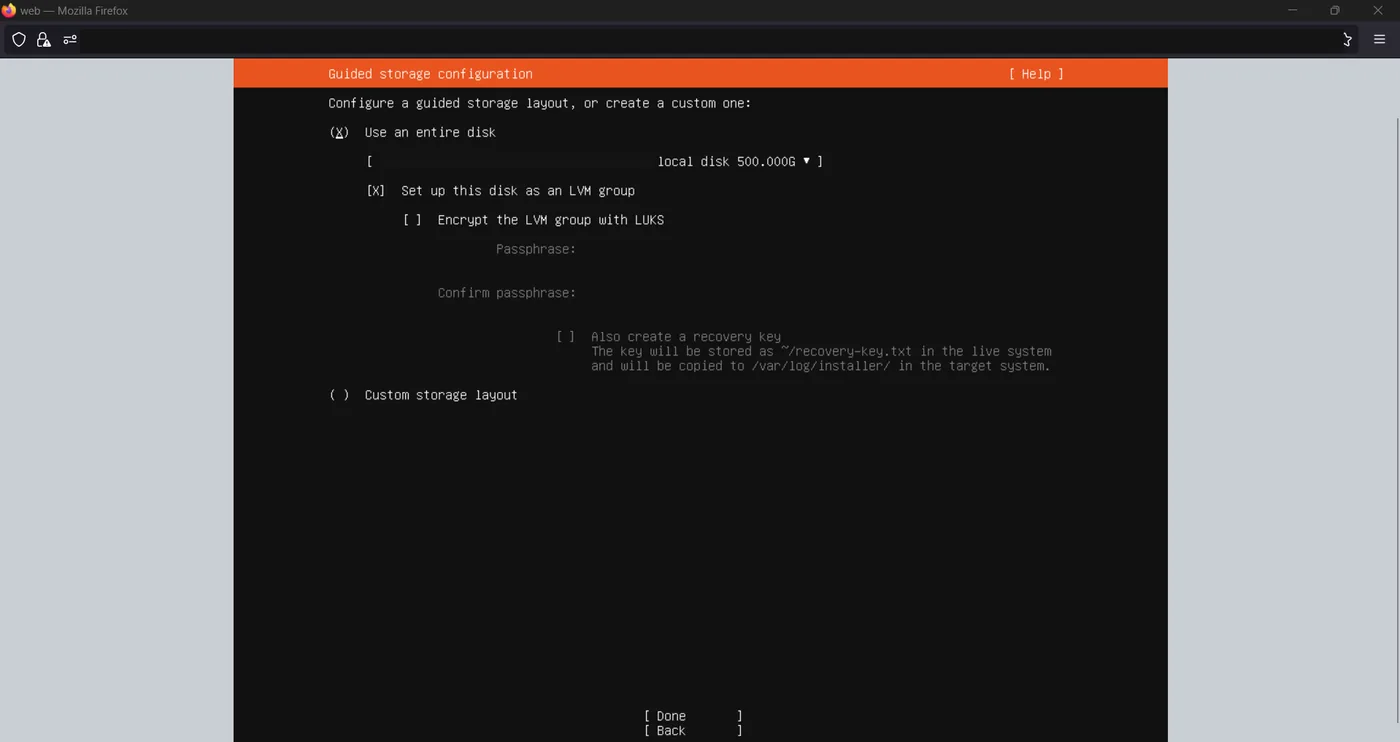
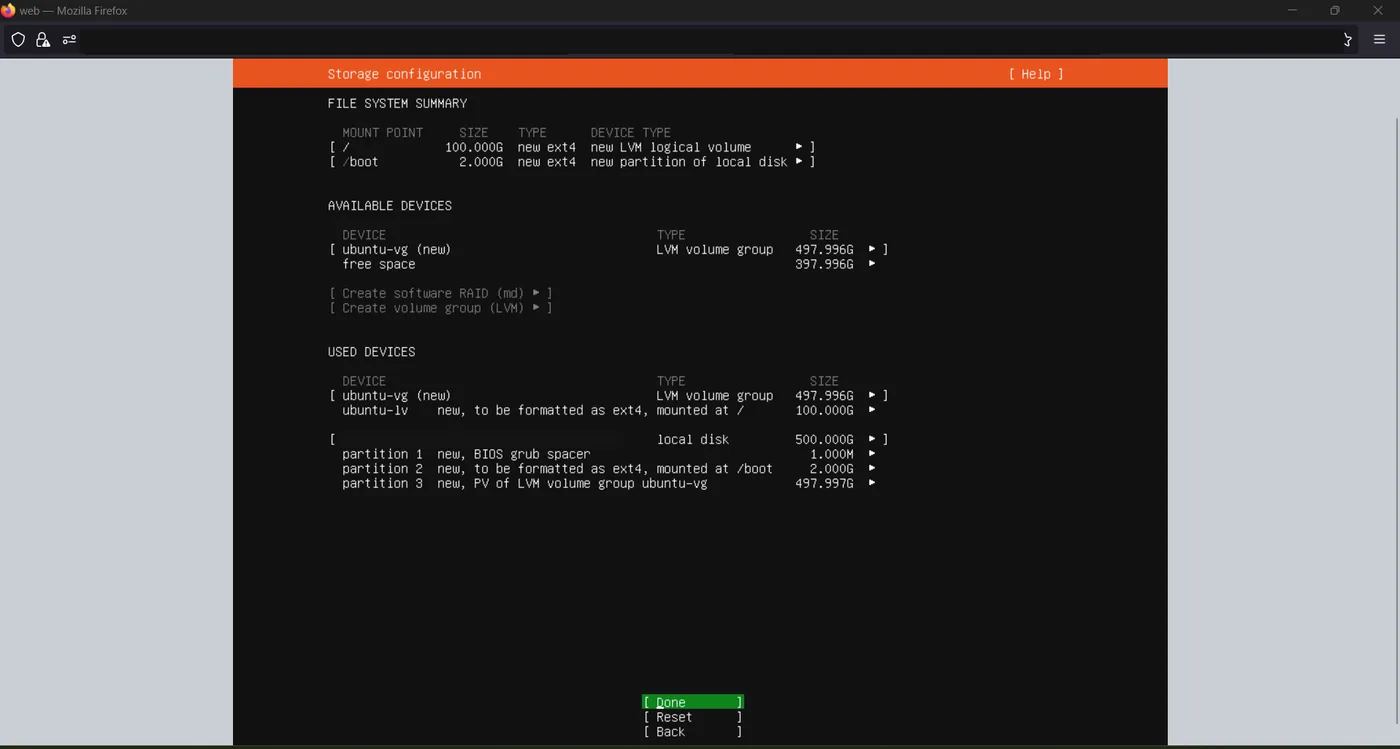
The guided storage screen is where the 500 GiB SCSI disk finally gets used. “Use an entire disk” with “Set up this disk as an LVM group” ticked is the sensible default for a server — LVM makes it far easier to grow filesystems later without touching the partition table. LUKS encryption is offered here too, and was left off in this case.
The resulting summary is worth reading carefully, because the installer’s default is easy to miss: it creates a volume group across the whole disk but only allocates 100 GiB to the root logical volume, leaving nearly 400 GiB unallocated. That’s not a mistake — it’s free headroom that can be handed to / or to new logical volumes later with lvextend. If you actually wanted the whole disk as root from day one, this is the screen to change it on.
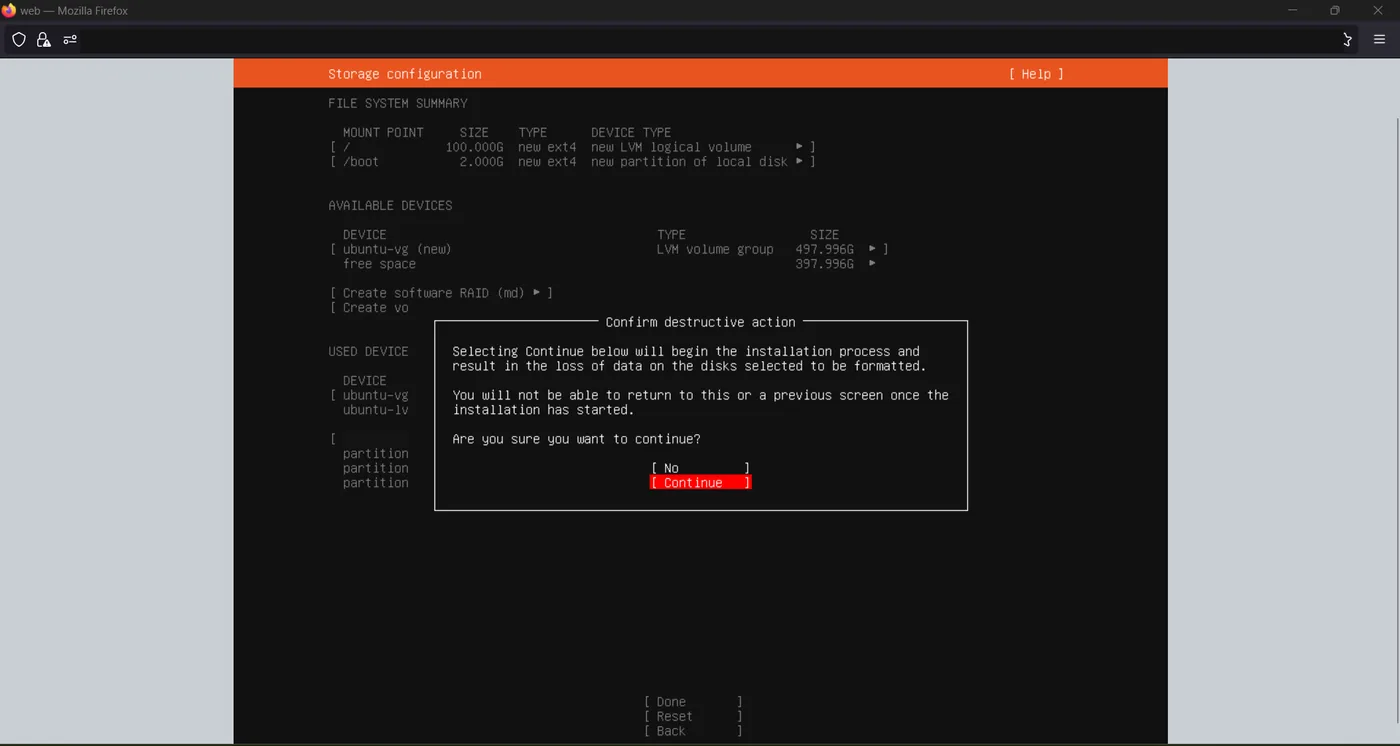
Confirming the layout triggers the usual destructive-action warning. Past this point the disk gets formatted and there’s no going back to previous screens.
Profile, updates and remote access
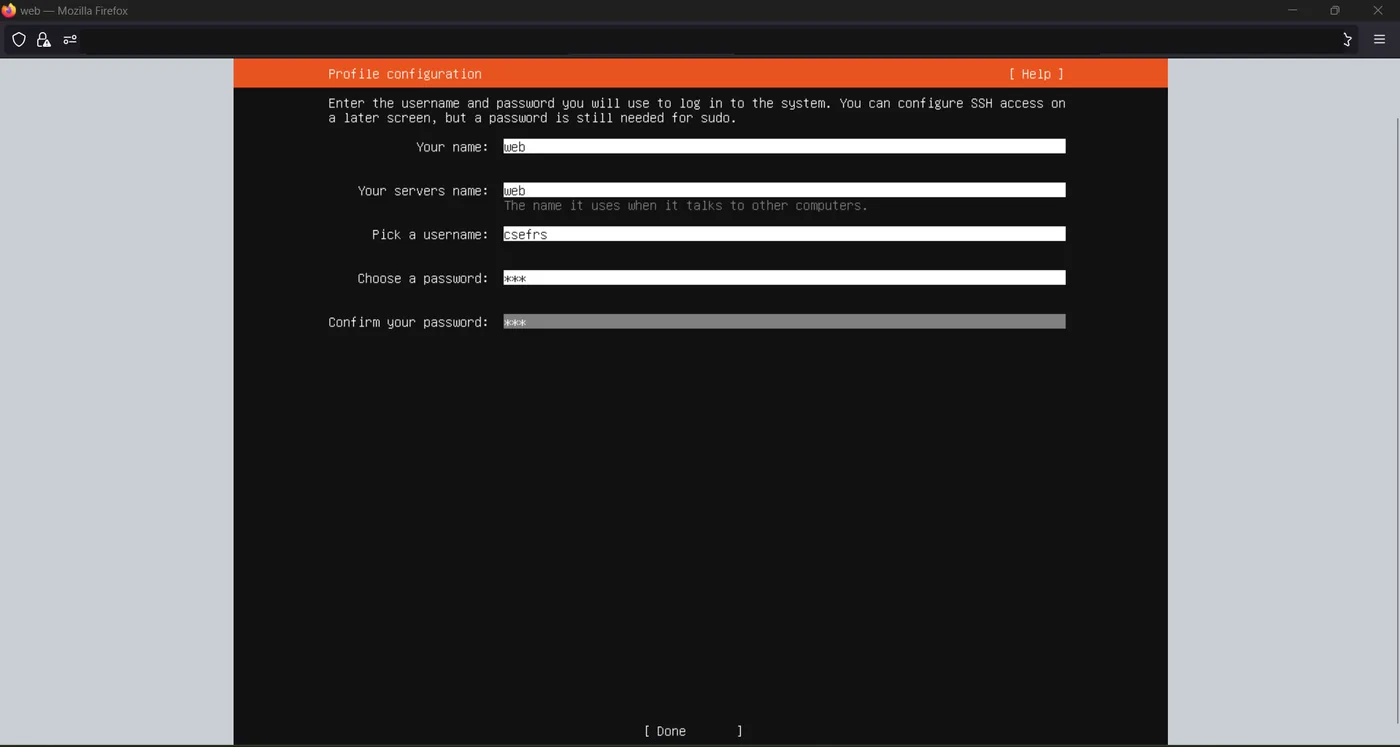
Profile configuration sets the server’s hostname along with the first user account and its password. That password matters even on a key-based setup, since it’s what sudo will ask for.
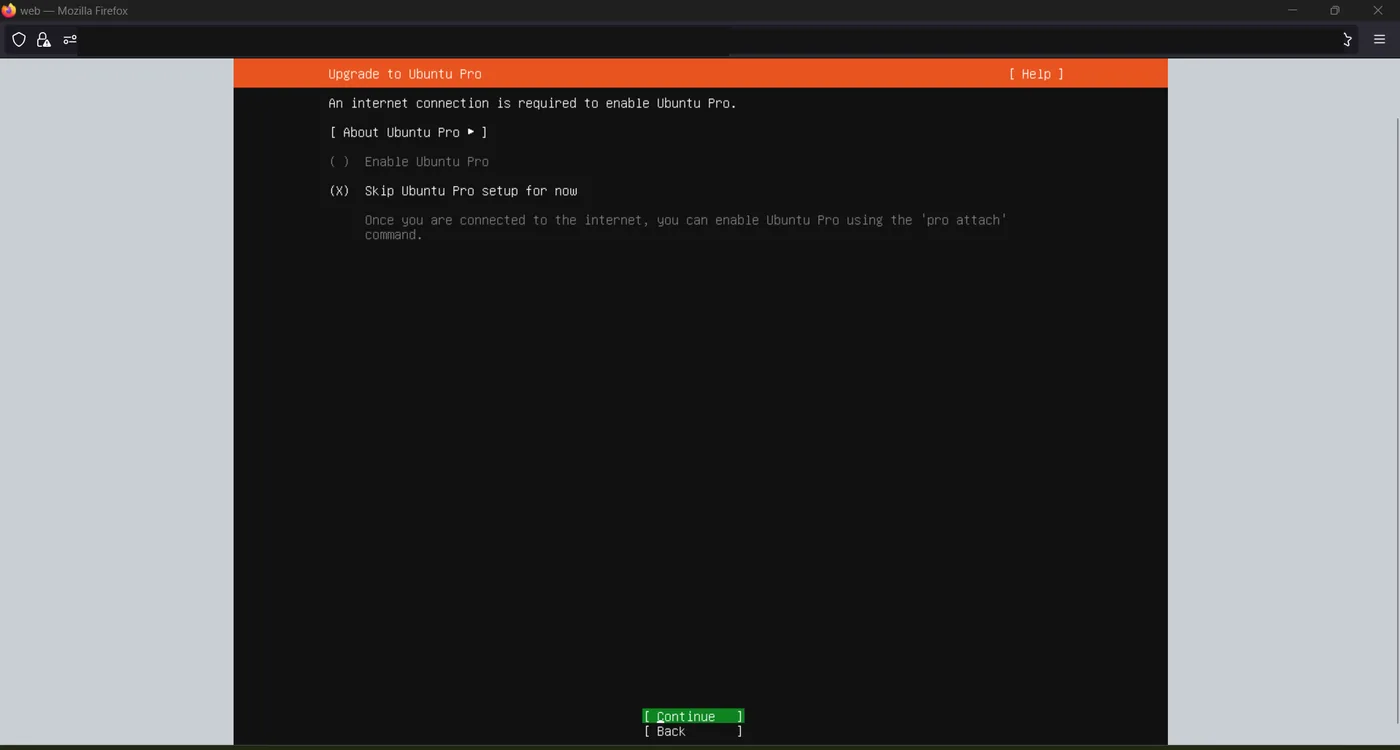
The Ubuntu Pro screen follows. It needs an internet connection to enable, so on an offline install it’s skipped — it can always be attached later once the machine has connectivity.
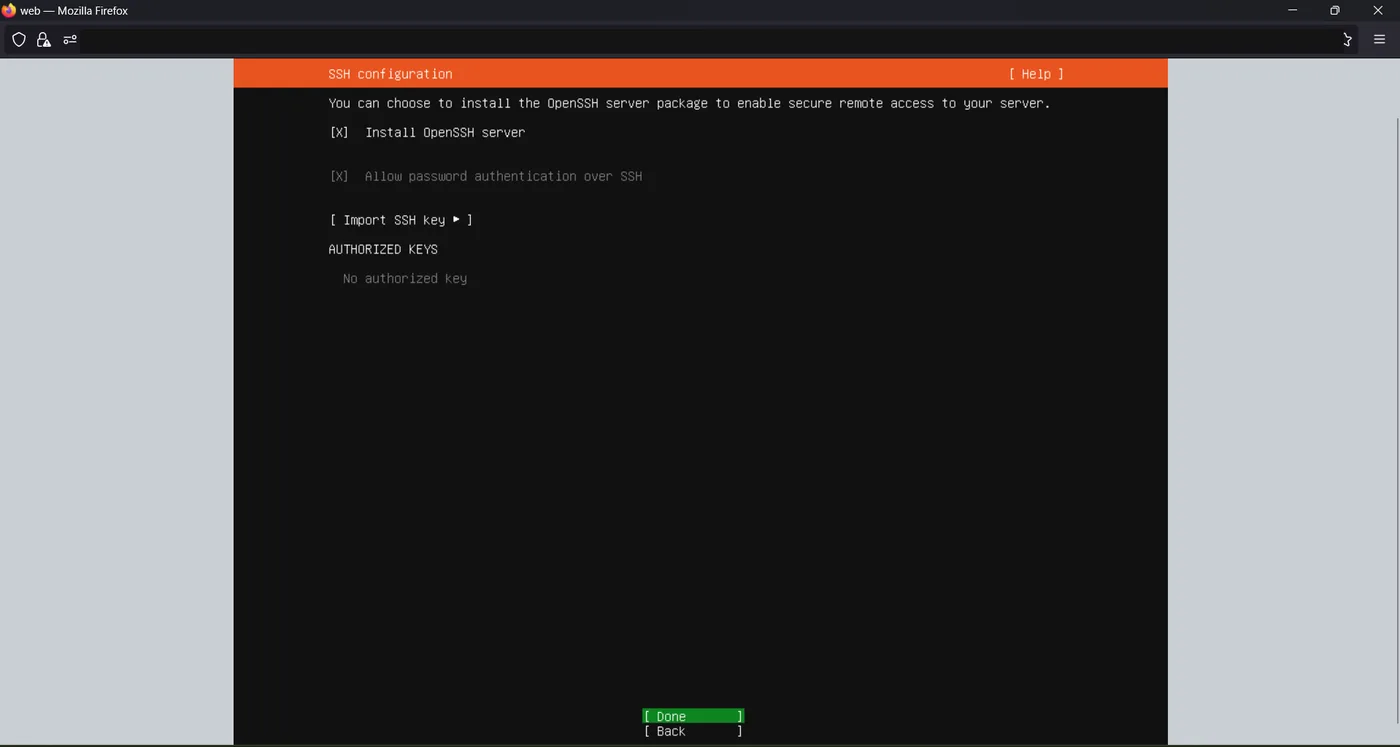
SSH is the one screen not to click past. Ticking “Install OpenSSH server” is what makes the VM reachable without the Prism console afterwards — and on a machine with no network configured yet, forgetting it means going back through the console to install it by hand.
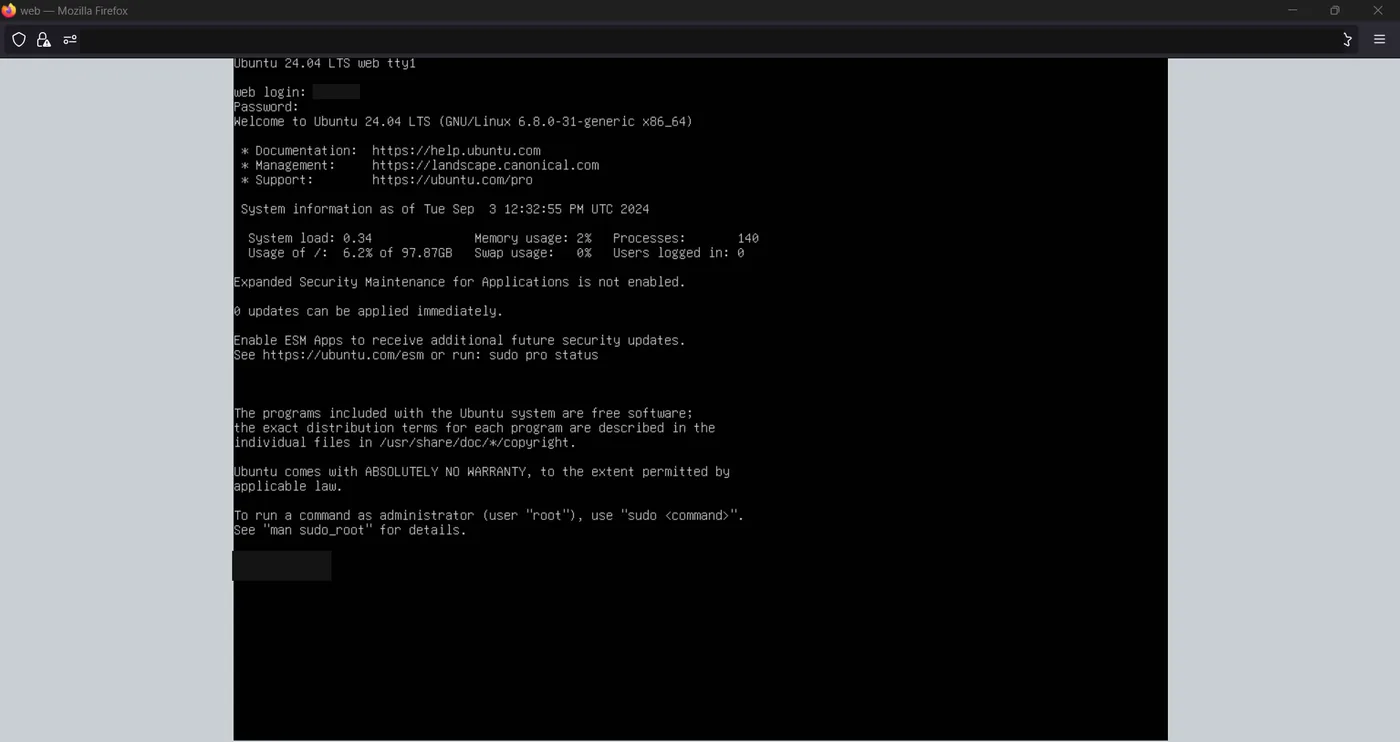
Once the installation finishes and the VM reboots, the console lands on a normal login prompt and the usual Ubuntu message of the day — kernel version, resource usage and update status.
Step 6 — Enabling Nutanix Guest Tools
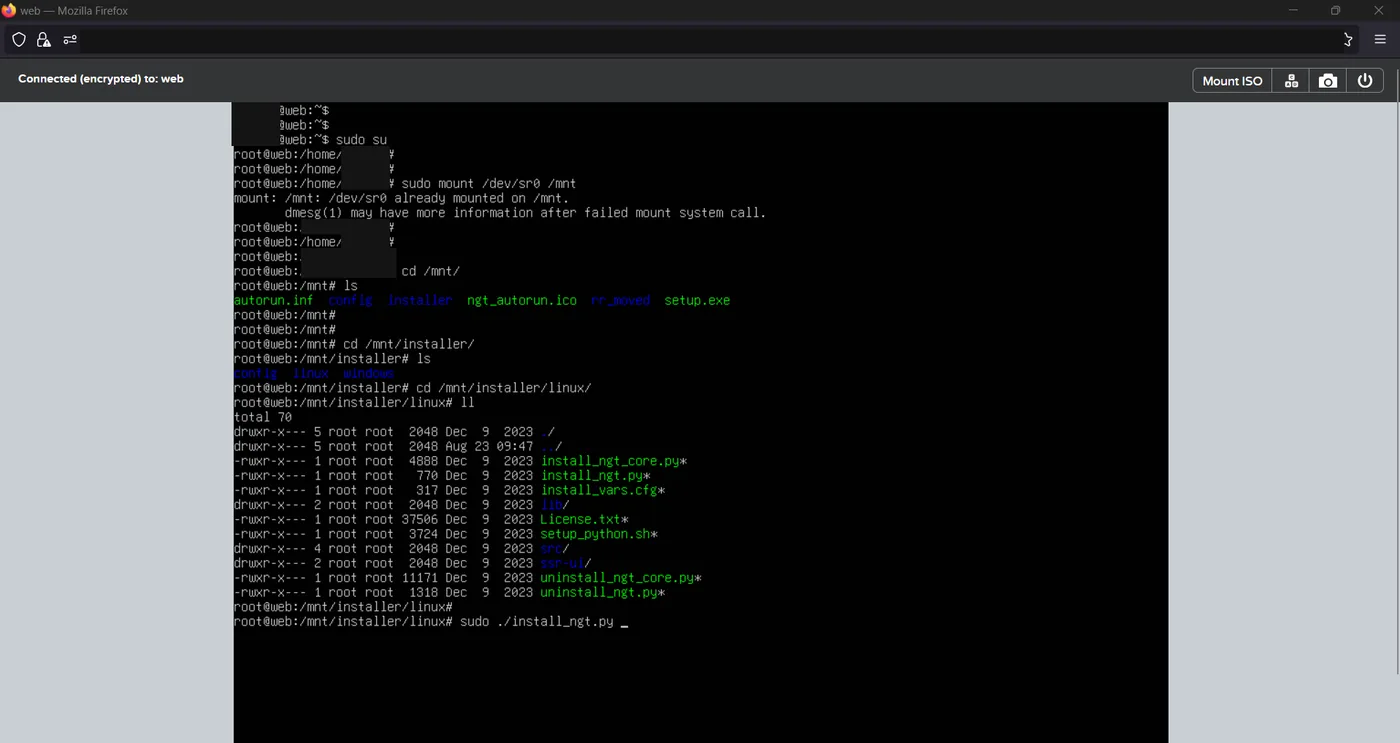
With the OS up, the last job is NGT. It’s what gives the cluster in-guest visibility and enables application-consistent snapshots, guest-level VSS/quiescing, self-service file restore and in-place guest shutdown — so on a production VM it isn’t really optional. NGT is enabled for the VM from Prism, which attaches the NGT ISO to the VM’s CD-ROM; the console’s own “Mount ISO” control does the same job from the console window.
From there the rest happens inside the guest. The ISO is mounted (it may already be mounted automatically), and the installer lives under the installer/linux directory on it:
sudo mount /dev/sr0 /mnt
cd /mnt/installer/linux/
sudo ./install_ngt.py
Listing that directory first is a useful sanity check — install_ngt.py, install_ngt_core.py and the matching uninstall scripts should all be there. Running install_ngt.py with sudo then installs the guest agent and the self-service restore components.
That’s the full path from an empty cluster slot to a running, managed Linux VM: define the VM with its media, disk and NIC, install the OS through the console, then enable NGT so the cluster can actually see and protect what’s inside it. The only step that regularly gets skipped is the last one — and it’s the one that matters most the first time you try to take an application-consistent snapshot.