
Sooner or later on a Lenovo ThinkAgile HX cluster you’ll need to get into the XClarity Controller and find that nobody knows the password. The person who racked the nodes has left, the credentials never made it into the password manager, or a security review has just told you the default USERID account needs rotating. It’s an awkward position, because XCC is exactly what you reach for when a node is unresponsive — and you can’t get into it.
The good news is that you don’t need physical access, a reset jumper, or a support case. As long as the host is up and you can SSH to it, you can manage XCC accounts from the operating system with ipmitool, over the in-band KCS interface. This walks through setting a new password for an XCC user on an HX3321 and confirming it works.
A quick word on the hardware
The ThinkAgile HX3321 is a 1U, two-socket Certified Node — Lenovo hardware validated for Nutanix, with the software licensed separately rather than bundled as an appliance. It takes two Intel Xeon Scalable processors, has 24 DIMM slots, and carries 10 or 12 SFF hot-swap bays plus a pair of M.2 SSDs in RAID-1 for the hypervisor boot device. Clusters start at three nodes.
Management is the XClarity Controller — Lenovo’s BMC, equivalent to iDRAC or iLO if that’s your background. On these nodes it typically ships with the XCC Enterprise upgrade, which is what gives you the remote console and remote media you actually want during a failure. It speaks IPMI 2.0, Redfish and SNMP alongside the web interface, and that IPMI support is what makes this procedure possible.
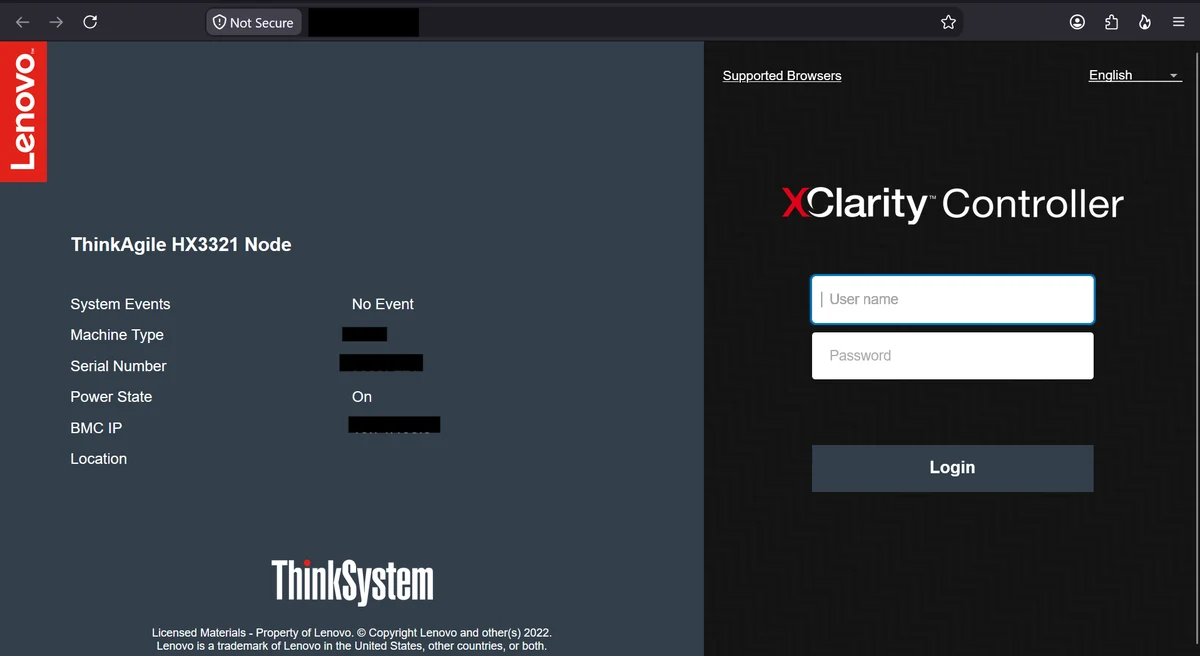
Before you start
Two things worth being clear about.
You need root on the host. This works because ipmitool talks to the BMC in-band, through the host’s KCS interface, and that channel trusts local root. That is precisely why it works without knowing the current XCC password — and also why physical and OS-level access control on your nodes matters more than people generally assume. Anyone with root on the host effectively owns the BMC.
Do this one node at a time, and treat it as a change. Nothing here restarts the host or touches the CVM, so there’s no impact on running workloads — you’re only reconfiguring the management processor. But XCC accounts are how you get in when things go wrong, so record what you set, in the password manager, before you move to the next node.
On an AHV cluster you’ll run these commands from the AHV host as root. If ipmitool isn’t on your path, it lives under /usr/bin on the hypervisor.
Step 1 — List the existing XCC accounts
Start by seeing what accounts exist and which are actually enabled. Channel 1 is the standard in-band channel:
# ipmitool user list 1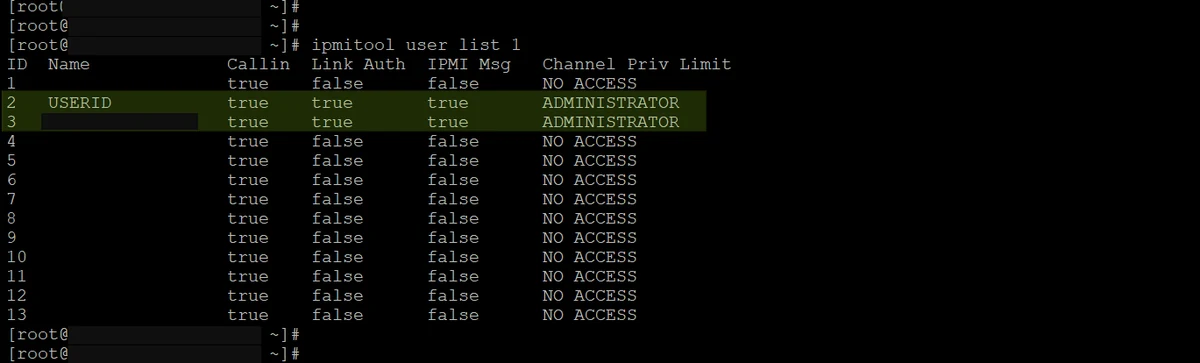
Read this carefully before changing anything. XCC exposes thirteen user slots; on this node only two are in use. USERID at ID 2 is the Lenovo default, and there’s a second administrator account at ID 3. The rest are empty, with NO ACCESS as their privilege limit.
The column that matters most is Channel Priv Limit. An account showing ADMINISTRATOR has full control of the BMC; one showing NO ACCESS is effectively disabled regardless of whether a password is set. Note the ID of the account you intend to change — you’ll pass that number to every subsequent command, and passing the wrong one silently changes the wrong account.
This listing is also a useful audit in its own right. If you find enabled administrator accounts you can’t identify, that’s worth chasing down before you do anything else.
Step 2 — Set the new password and enable the account
With the ID confirmed, set the password. Quote it, so the shell doesn’t interpret any special characters:
# ipmitool user set password 3 '<new-password>'
# ipmitool user enable 3
You’re looking for Set User Password command successful (user 3). The user enable that follows is not redundant: an account can hold a valid password and still be disabled, in which case the login will fail and you’ll waste time assuming you typed the password wrong. Running it costs nothing and removes that possibility.
Two practical notes. XCC enforces its own password complexity policy, so a password that’s too short or too simple will be rejected — the command tells you rather than failing quietly. And because the password appears in the command, it lands in your shell history; clear it afterwards, or prefix the command with a space if your shell is configured to skip those lines.
Step 3 — Verify from the web interface
Don’t declare this done from the command line. Open the XCC web interface for the node and log in with the account you just changed:
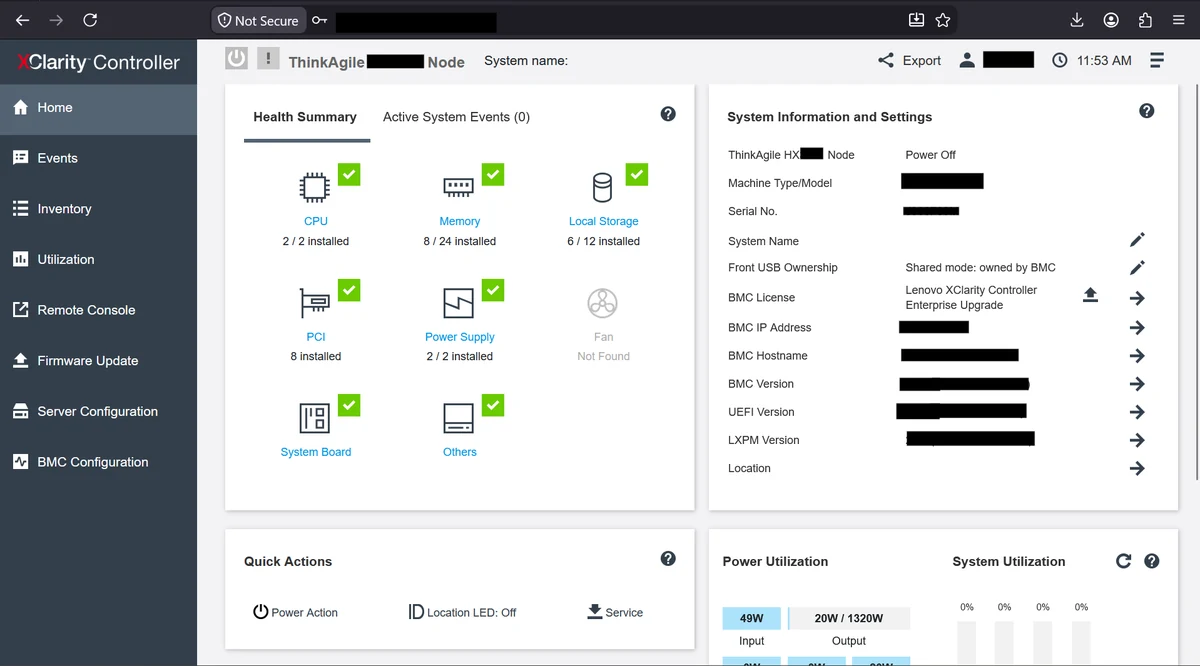
A successful login gets you the health summary — CPU, memory, local storage, PCI, power supplies and system board, with installed counts against each — plus system information on the right, including the BMC licence level, firmware versions and network details & remote console.