
Prism Central (PC) is Nutanix’s multi-cluster management plane — it sits above one or more Prism Element clusters and adds fleet-wide dashboards, role-based access, capacity planning, and the automation and lifecycle tooling that Prism Element alone doesn’t provide. On a recent engagement we deployed a new Prism Central instance straight from an existing Prism Element cluster and registered that cluster to it. This post walks through the deployment wizard end to end, the first-run configuration, and connecting the cluster back to its new management plane — with screenshots from the actual project (customer identifiers and IP addresses have been redacted throughout).
Kicking off the deployment from Prism Element
Every Prism Element cluster ships with a shortcut into Prism Central setup. On the cluster dashboard, the Prism Central panel shows Not Registered until the cluster is either connected to an existing PC instance or used to deploy a new one. Clicking through opens a simple choice: deploy a brand new Prism Central instance, or connect to one that’s already running elsewhere.
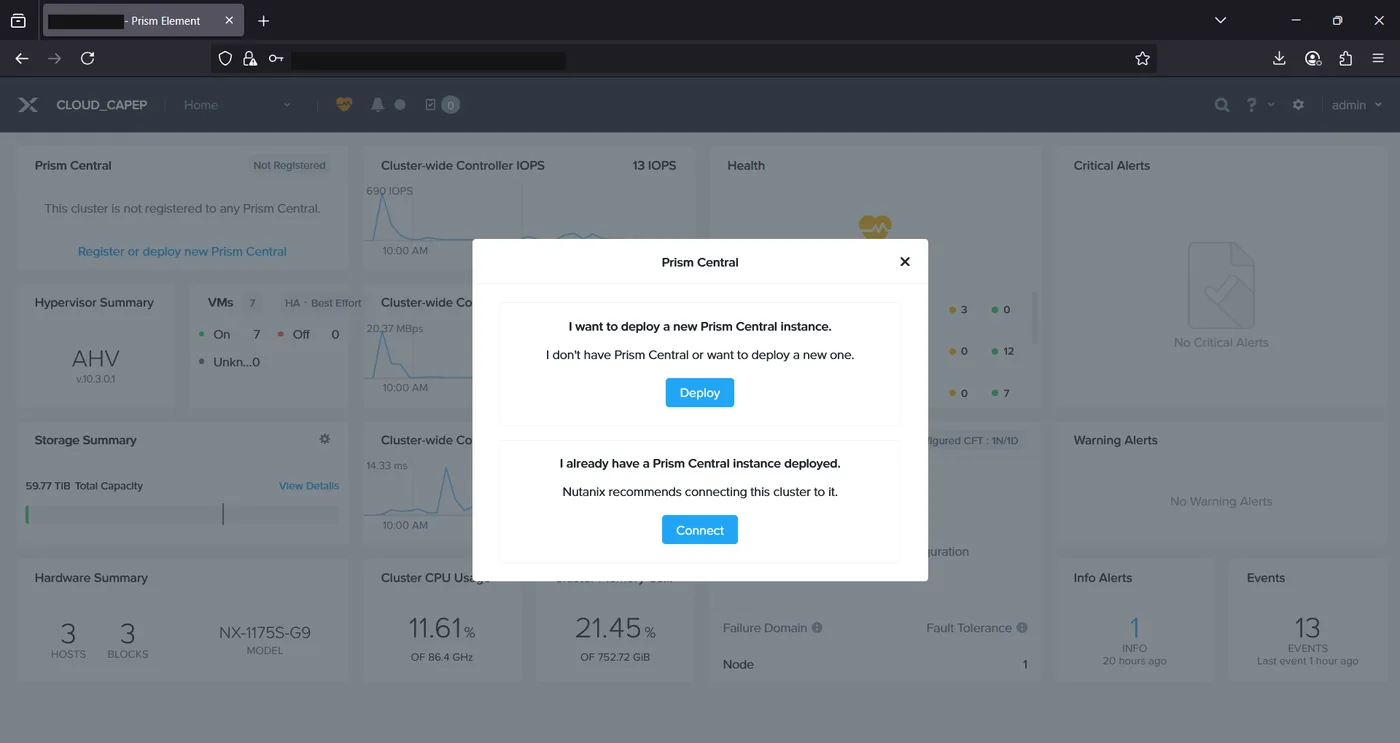
We picked Deploy, which launches a three-step wizard: Version, Size and Scale, and Configuration.
Step 1 — Version
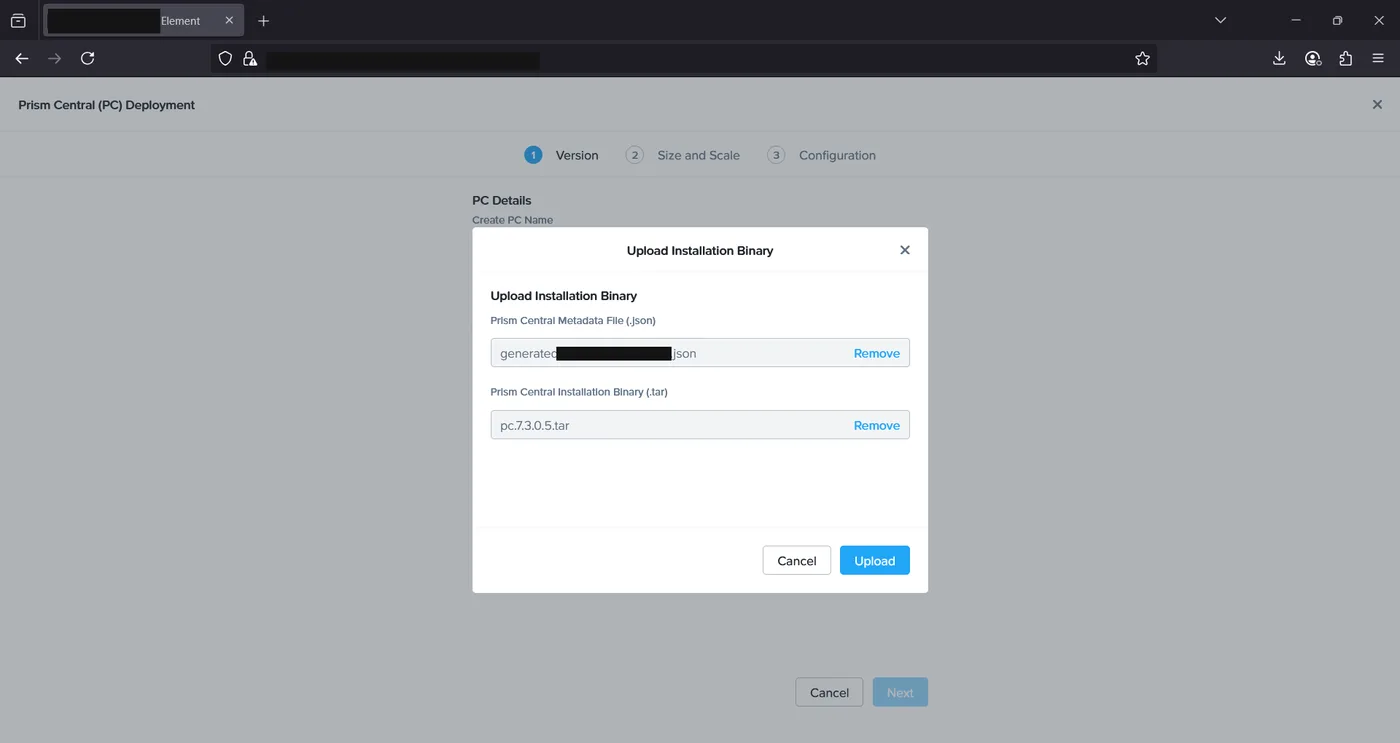
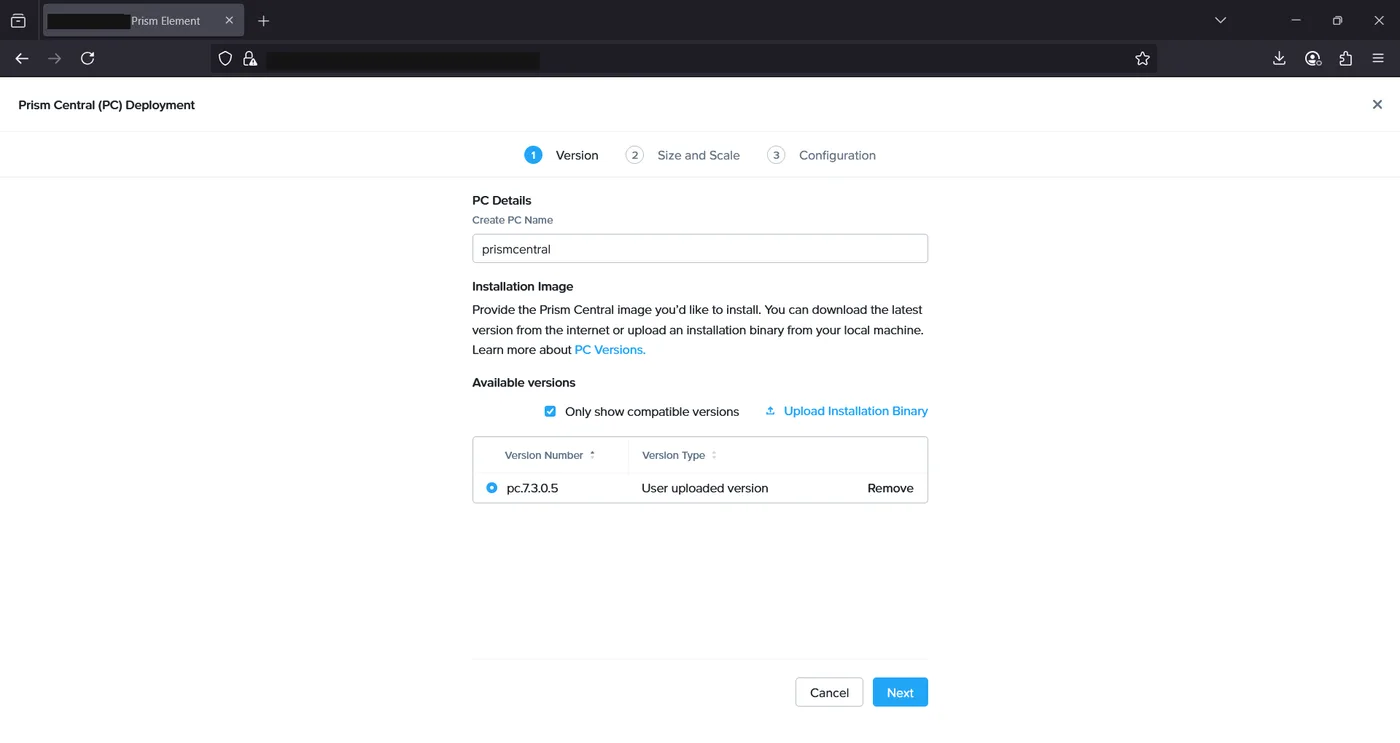
The wizard asks for a name for the new Prism Central instance and an installation image. Since this environment doesn’t have direct internet access to Nutanix’s portal, we uploaded the installation binary manually from a local machine rather than pulling the latest version automatically. Once the upload finishes, the version shows up in the table as a “User uploaded version” and can be selected to continue.
Step 2 — Size and Scale
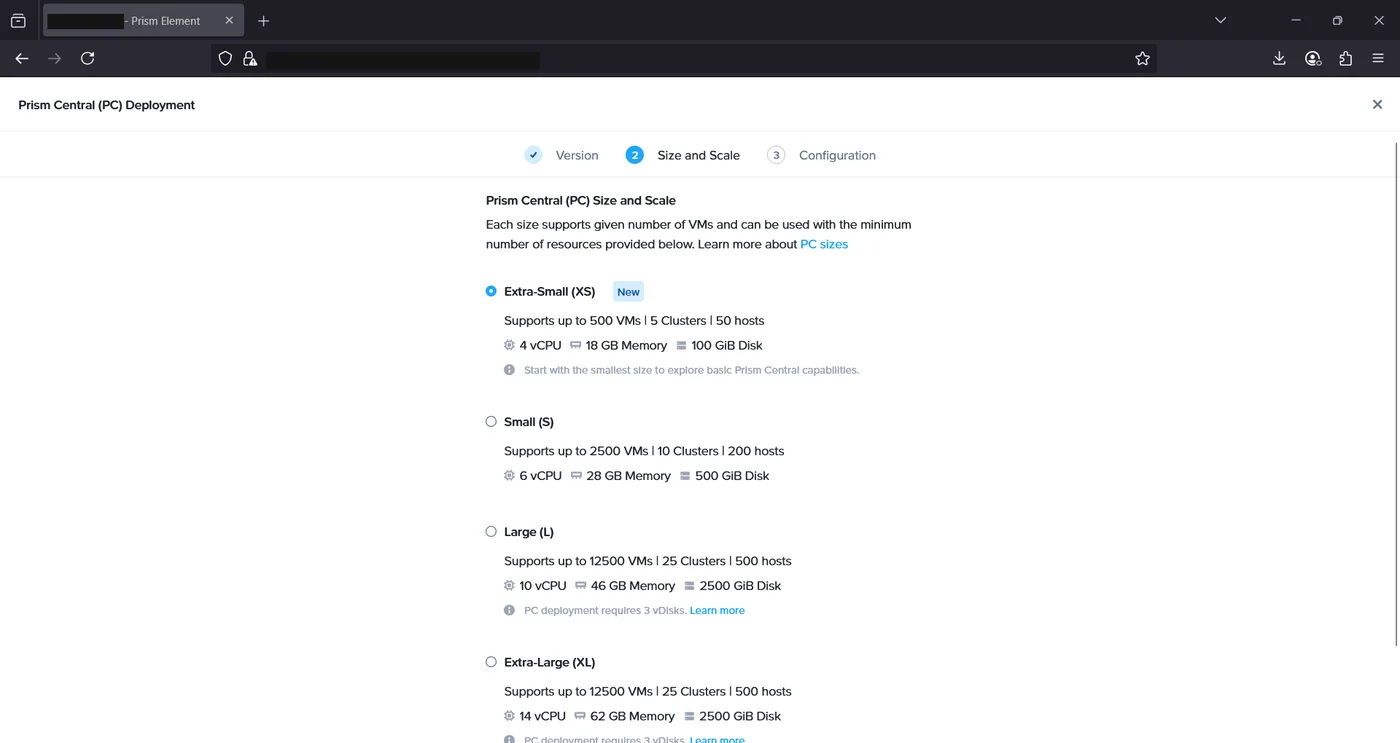
Prism Central comes in four sizes — Extra-Small, Small, Large and Extra-Large — each sized for a maximum number of VMs, clusters and hosts, with the vCPU, memory and disk footprint scaling accordingly. Extra-Small supports up to 500 VMs, 5 clusters and 50 hosts on just 4 vCPUs and 18 GB of memory, which comfortably covers a single-cluster lab or small production environment, so that’s what we chose here. Larger environments would size up to Small or beyond, trading a bigger footprint for headroom to register more clusters and hosts under the same Prism Central.
Step 3 — Configuration
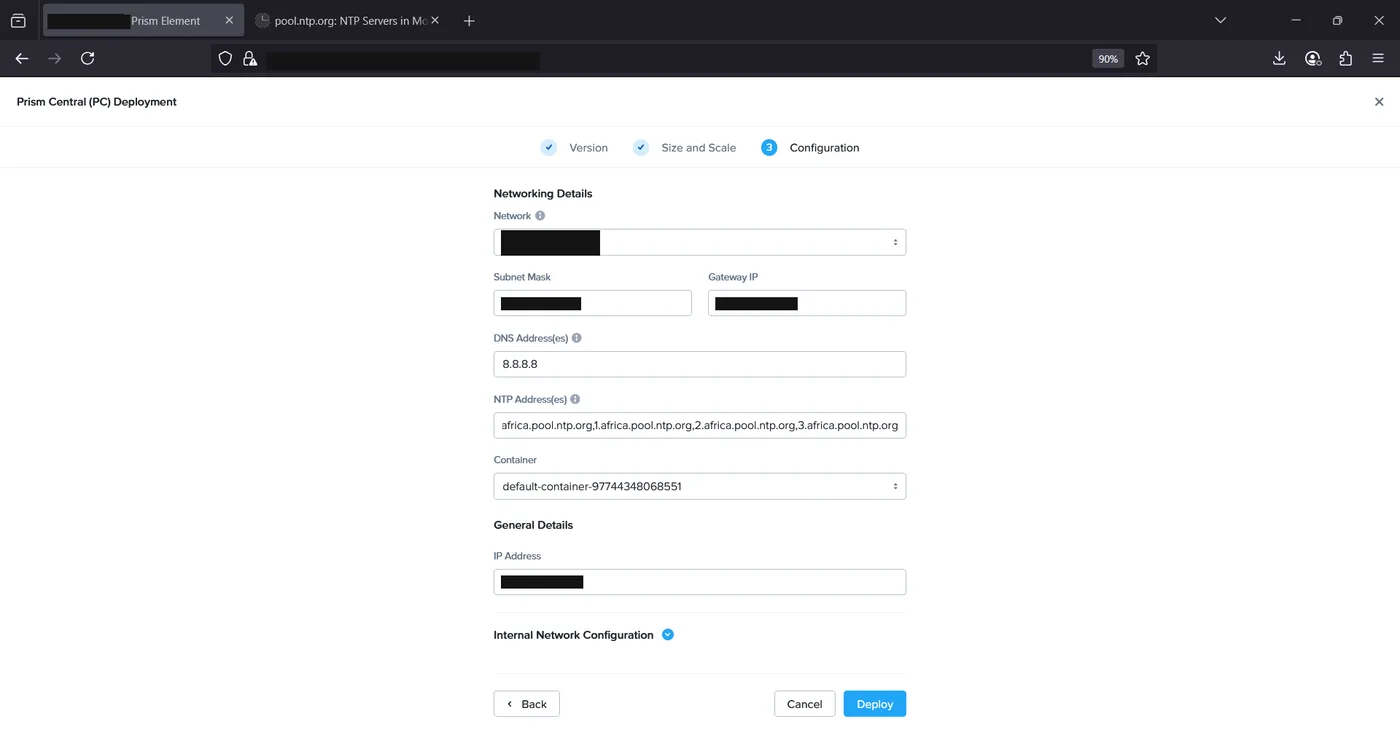
The last step covers the networking Prism Central will run on: which virtual network to attach to, subnet mask, gateway, DNS and NTP servers, the storage container the PC VM’s disks will live on, and the IP address the new instance will answer on. DNS was pointed at a public resolver and NTP at the regional Nutanix-recommended pool servers, both fine to leave as-is; the network, subnet, gateway and IP address are specific to the target environment and were filled in accordingly. Once everything validates, Deploy kicks off the actual provisioning.
Watching the deployment
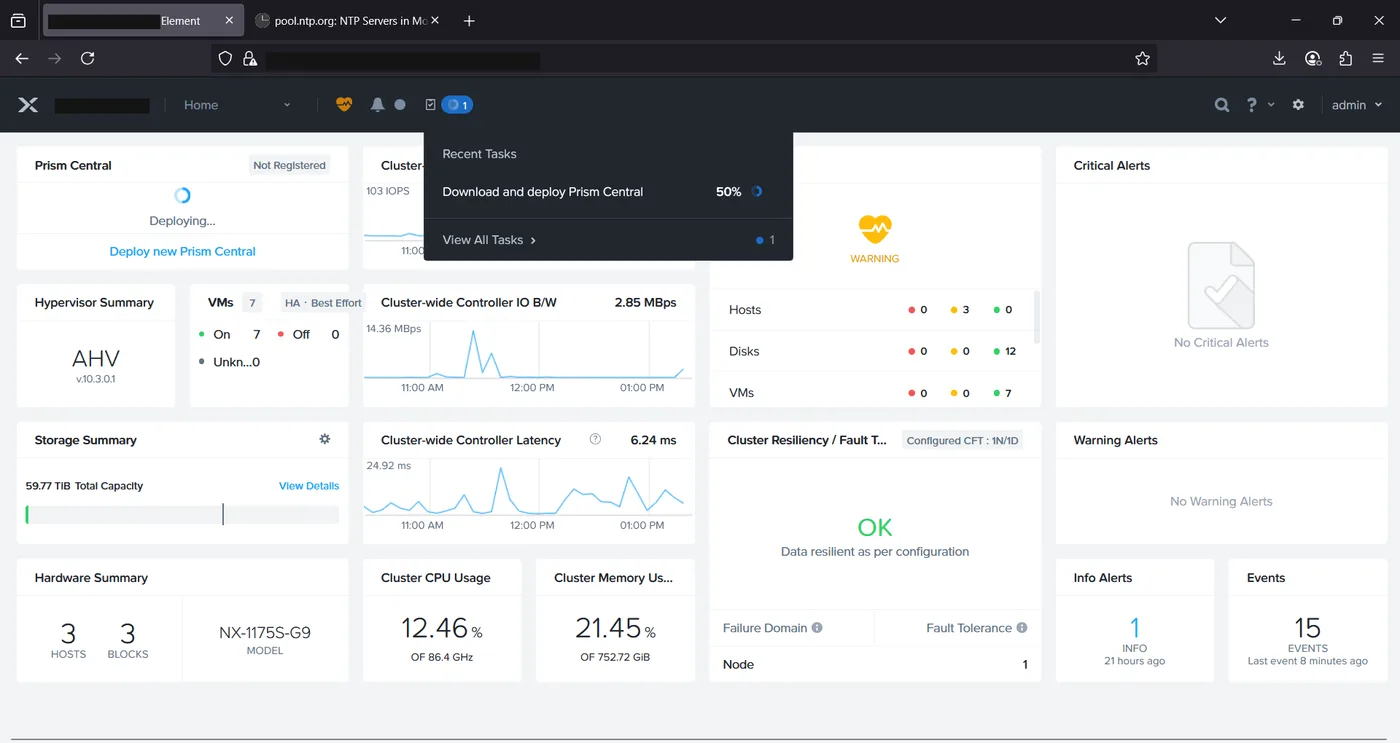
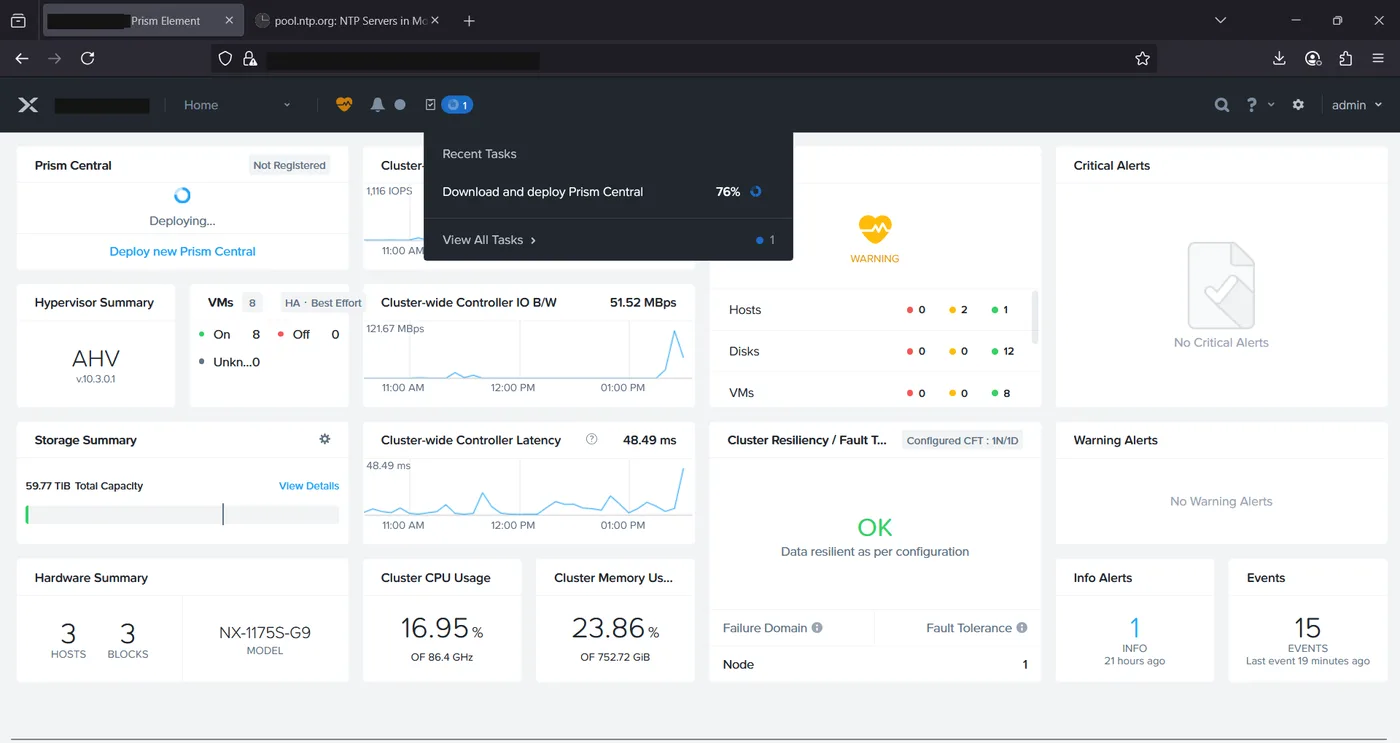
Deployment runs as a background task visible from the Prism Element task tray, with a progress percentage that climbs as the appliance is provisioned, boots, and comes up for the first time. It took a few minutes end to end in this environment.
First login: password, EULA and Pulse
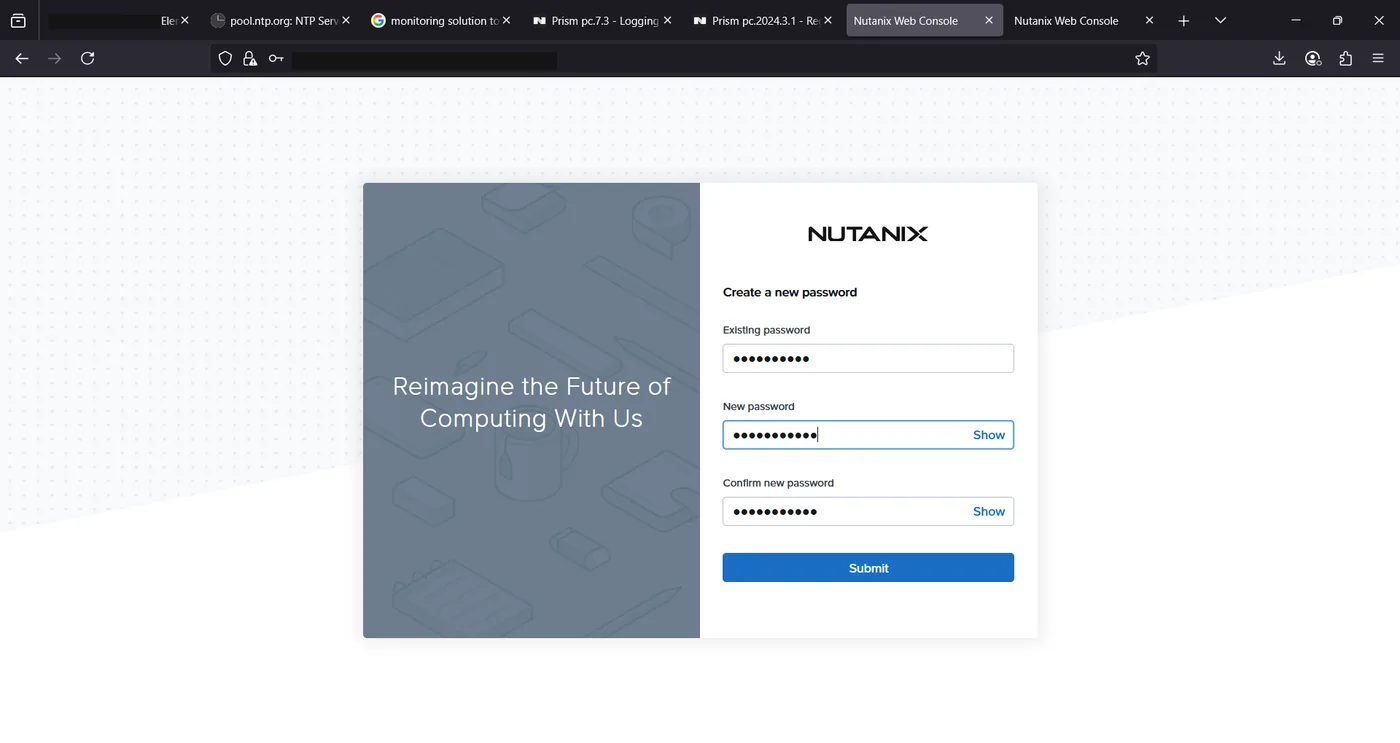
Once deployment finishes, Prism Central is reachable on its own IP address and runs through the same first-run flow as any fresh Nutanix management interface. First, the default admin password has to be changed before anything else is accessible.
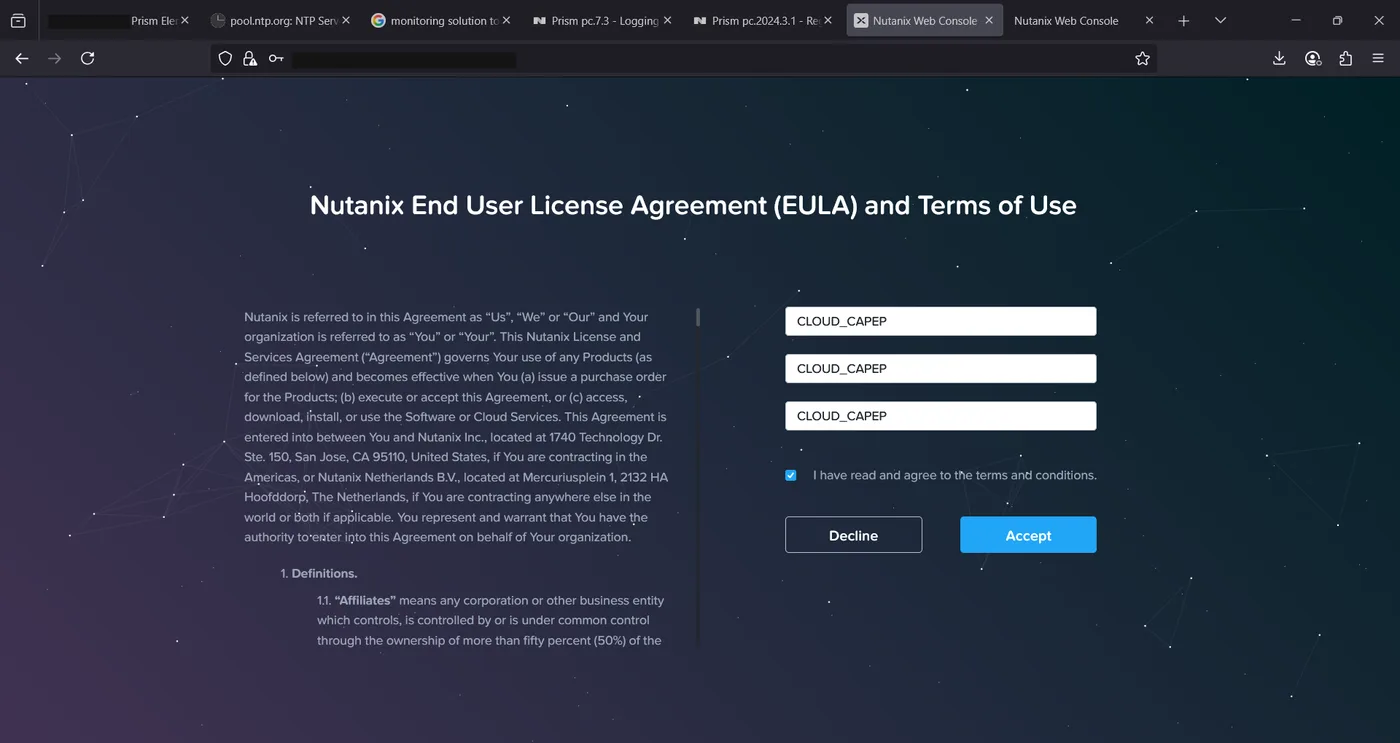
Next comes the Nutanix End User License Agreement, which has to be read and accepted before proceeding to the console proper.
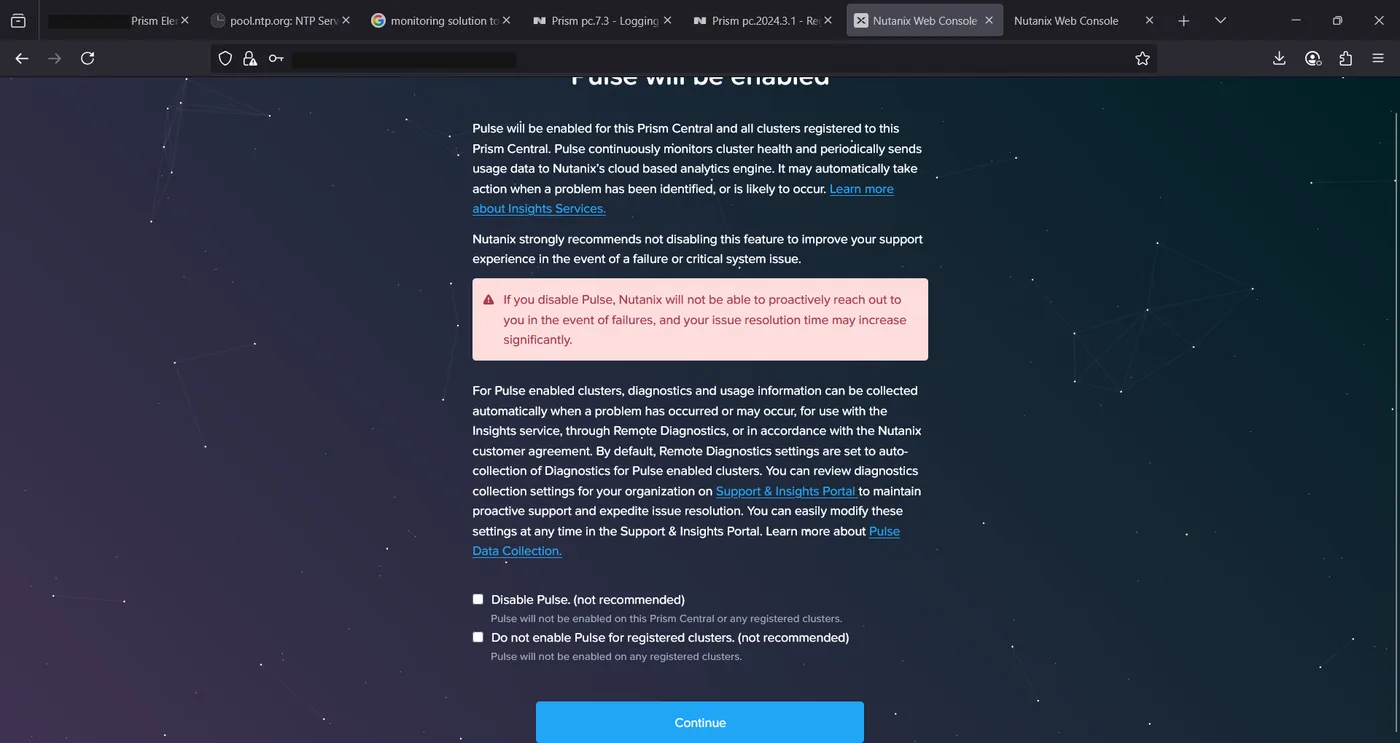
Finally, Prism Central asks whether to enable Pulse — Nutanix’s opt-in telemetry service that monitors cluster health and feeds usage data back to Nutanix’s support and analytics pipeline. Leaving it enabled (the default and Nutanix’s recommendation) means faster, more proactive support if something goes wrong later; we kept it on.
Registering the Prism Element cluster
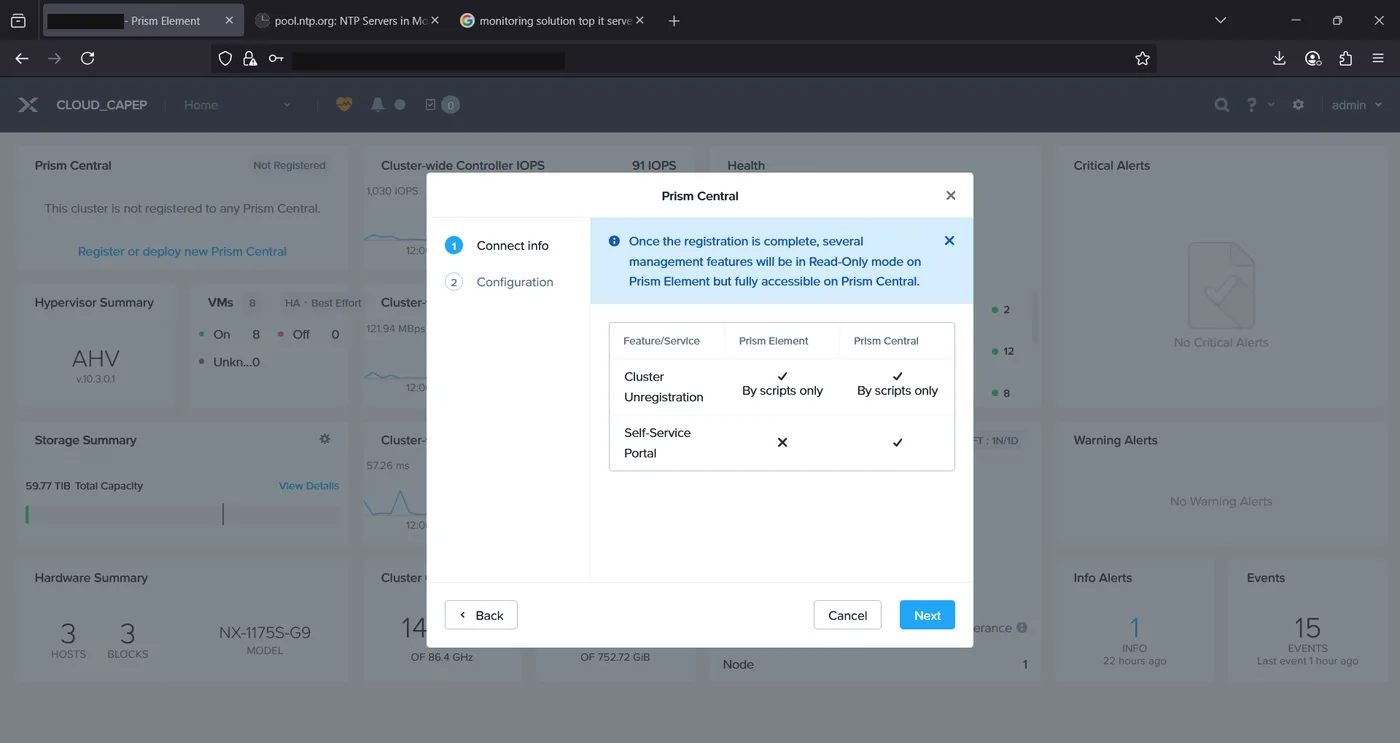
With Prism Central up and running, the last step ties it back to the source cluster. Nutanix’s registration flow is a two-way door: from Prism Element you can either deploy a brand-new PC (what we just did) or connect to a PC instance that already exists — which is exactly what we did next, pointing this same cluster’s registration flow at the Prism Central instance we’d just deployed rather than treating it as a separate exercise. Before confirming, Prism Element shows a short comparison of what changes after registration: cluster unregistration remains available from both sides (scripted only), while day-to-day self-service management moves to Prism Central.
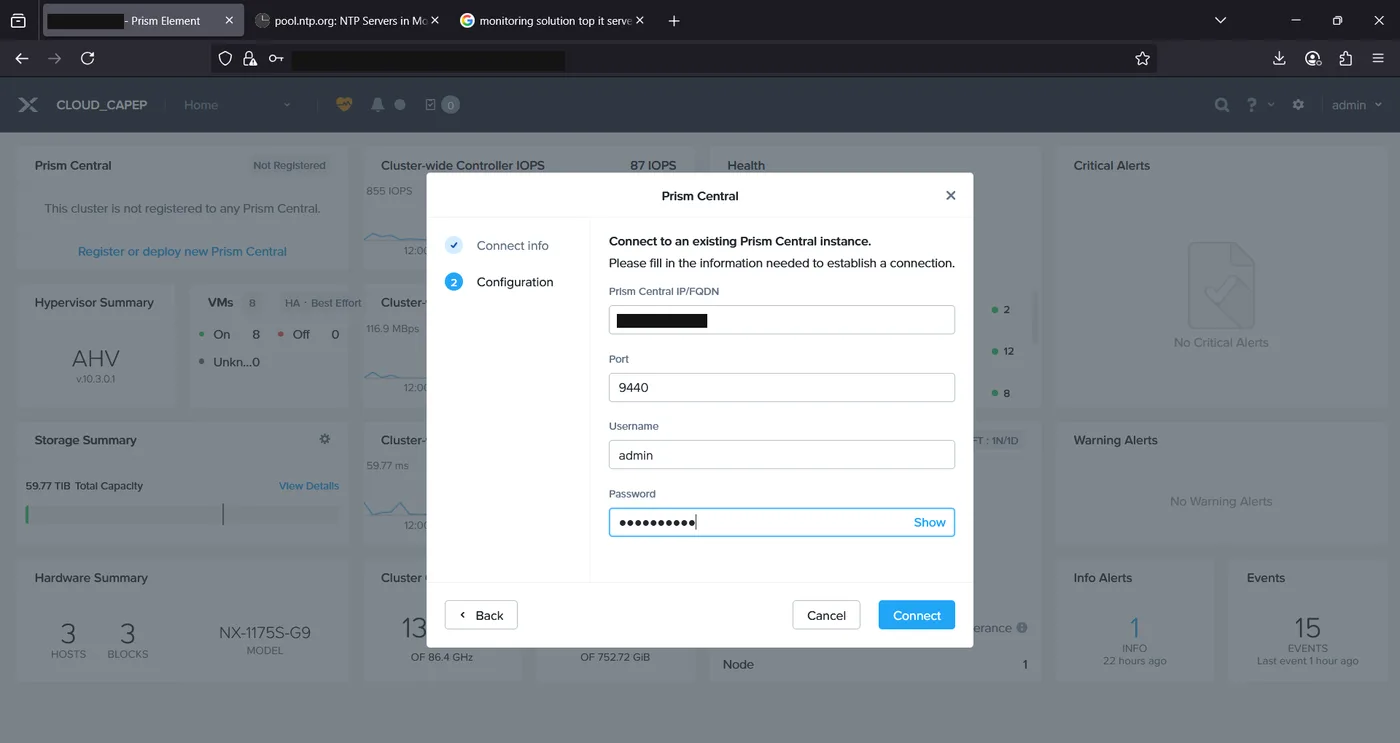
The connection itself just needs the new Prism Central’s IP or FQDN, its management port (9440, same as Prism Element), and a set of admin credentials to authenticate the registration call.
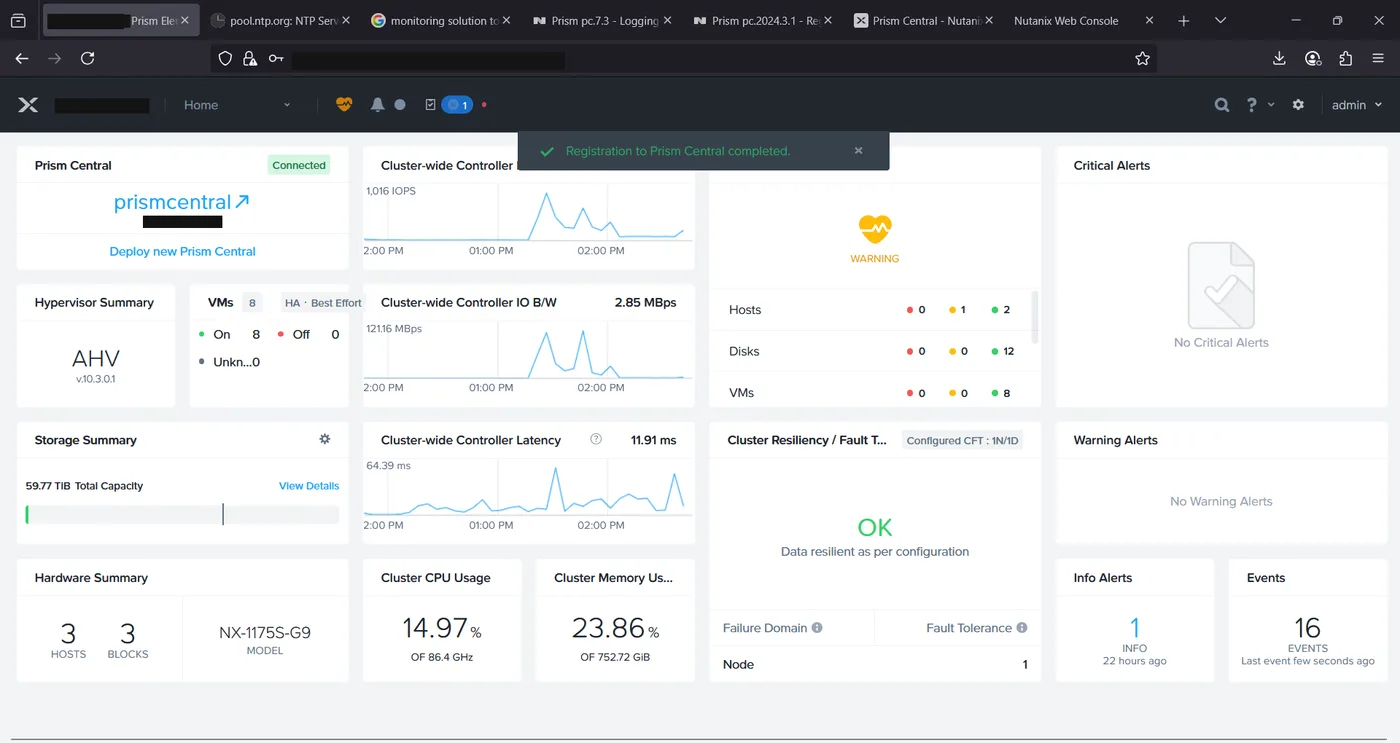
Once the registration task completes, the Prism Central panel on the Prism Element dashboard flips from “Not Registered” to Connected, with a link straight through to the new management console.
Confirming Pulse on both sides
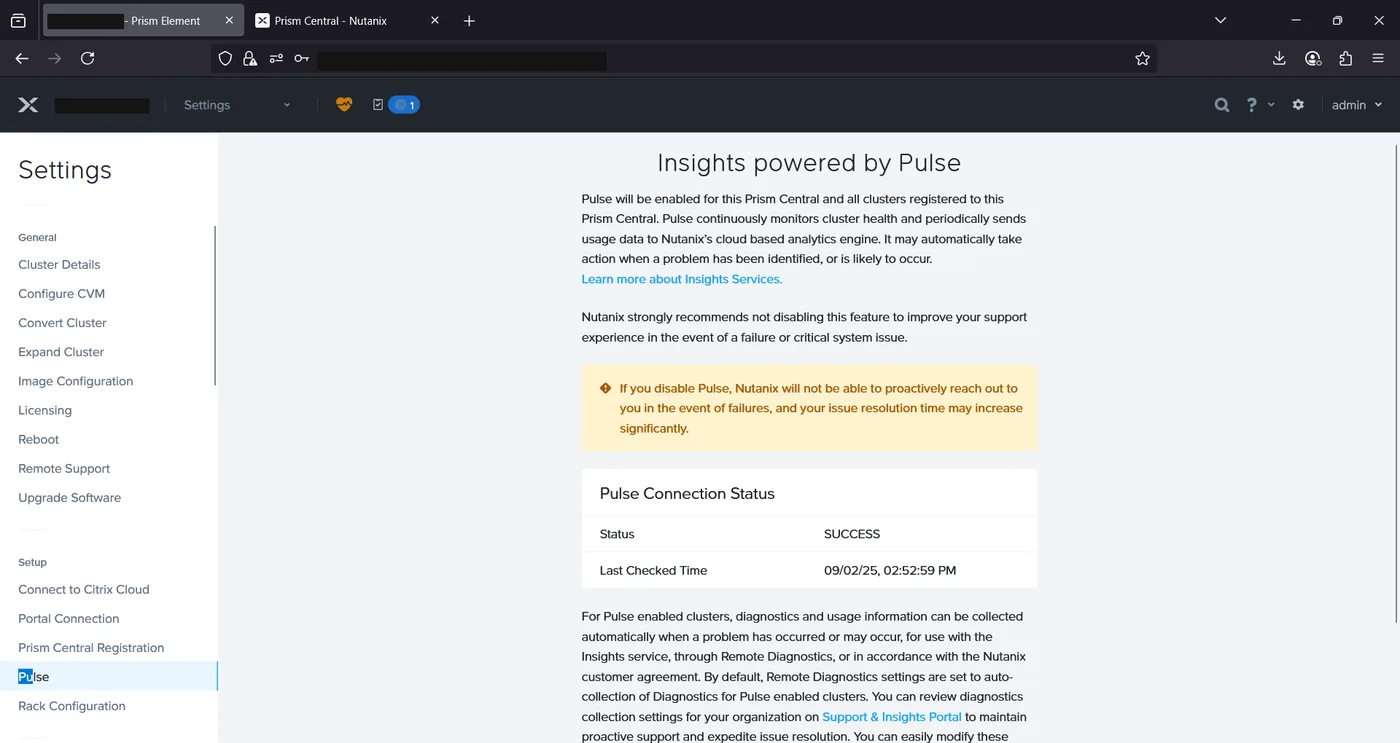
Pulse connectivity is configured independently on Prism Element and on Prism Central’s own Admin Center, so it’s worth checking both after registration. Prism Element’s Settings > Pulse page confirmed a successful connection status.
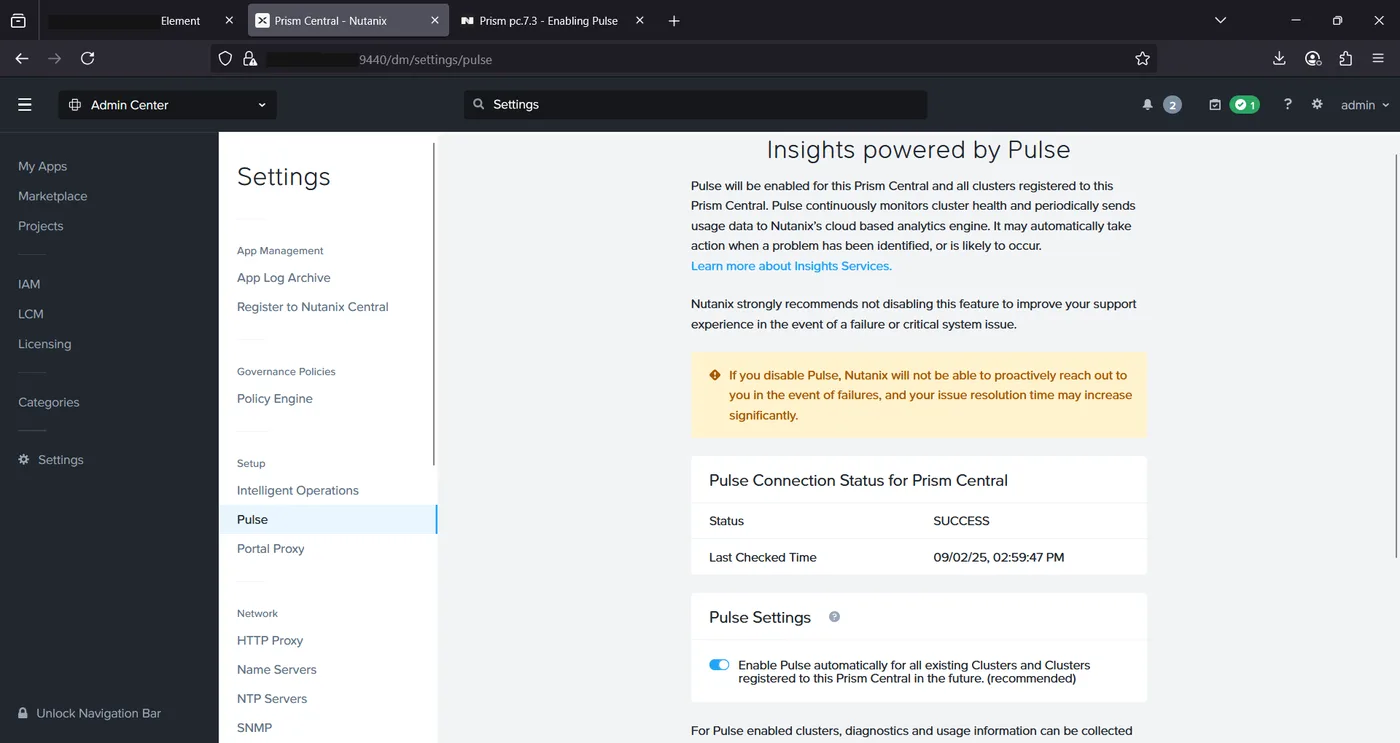
Prism Central’s Admin Center has its own separate Pulse settings page (under Settings, distinct from Prism Element’s), which also reported a healthy connection.
Wrapping up with an LCM inventory
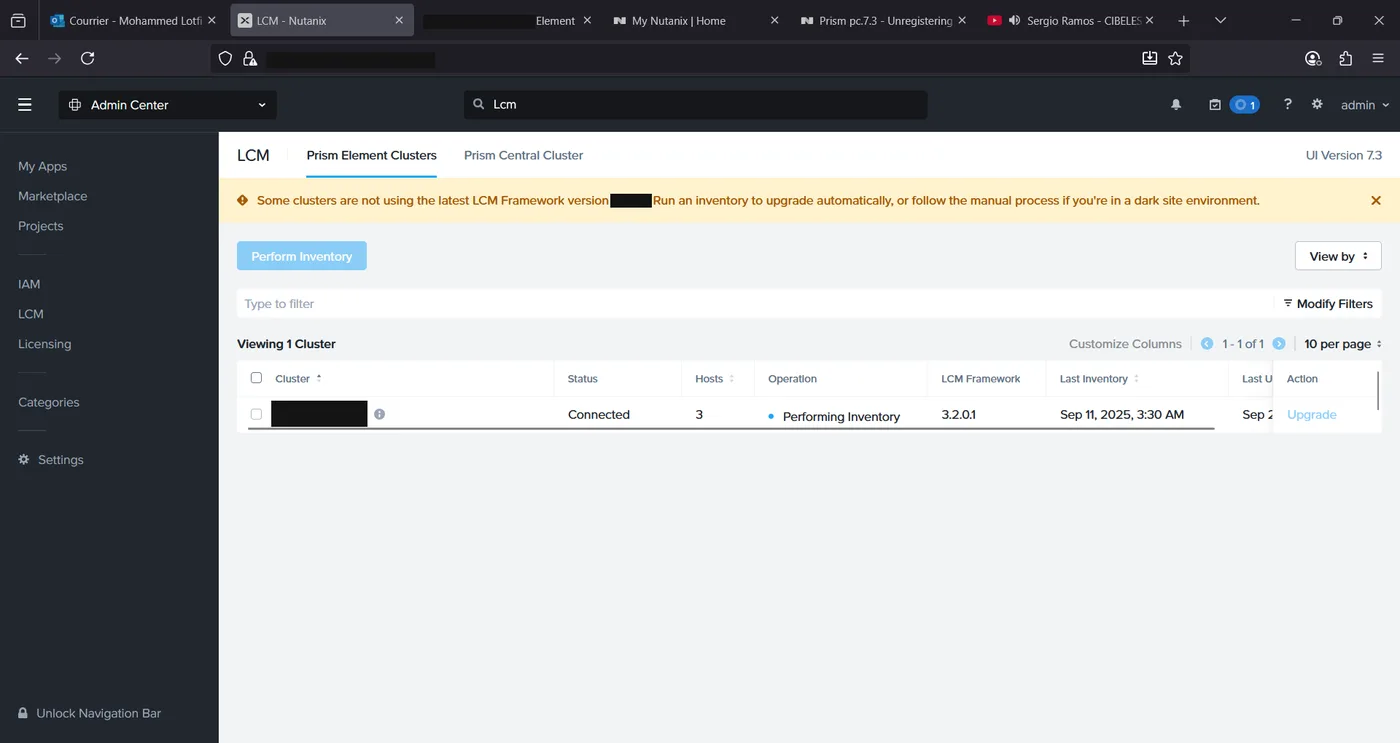
With the cluster registered and Pulse confirmed, the last housekeeping step was a Life Cycle Manager (LCM) inventory run from Prism Central’s Admin Center. LCM tracks firmware and software versions across every registered Prism Element cluster and flags anything that’s fallen behind the latest framework — in this case prompting an inventory run to bring the newly registered cluster’s LCM framework up to date. Running an inventory here, right after registration, is a good habit: it gives Prism Central an accurate baseline of what’s installed before any future firmware or software upgrades are planned.
From a single Prism Element cluster with no Prism Central at all, we ended up with a fully deployed PC instance, the cluster registered and reporting healthy telemetry, and an up-to-date LCM inventory ready for future patching — the whole thing done inside a single browser session, without needing outbound internet access to Nutanix’s portal at any point.